




















Choose the outside
Place your paper face down on your work surface so that the side facing you is not the side that will form the outside of the bead

Free Shipping on Most Orders Over $150* – Learn More >
 Bails
 Bolo Tie Acc.
 Bookmarks
 Brooch & Bar Pins
 Buckles
 Buttons
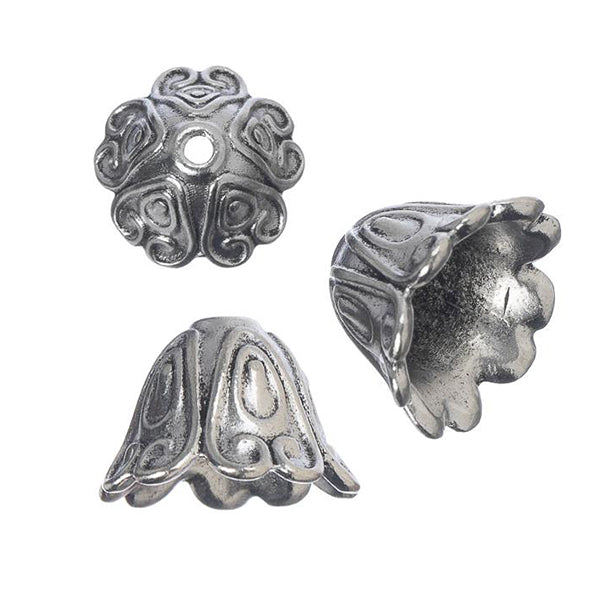 Caps & Cones
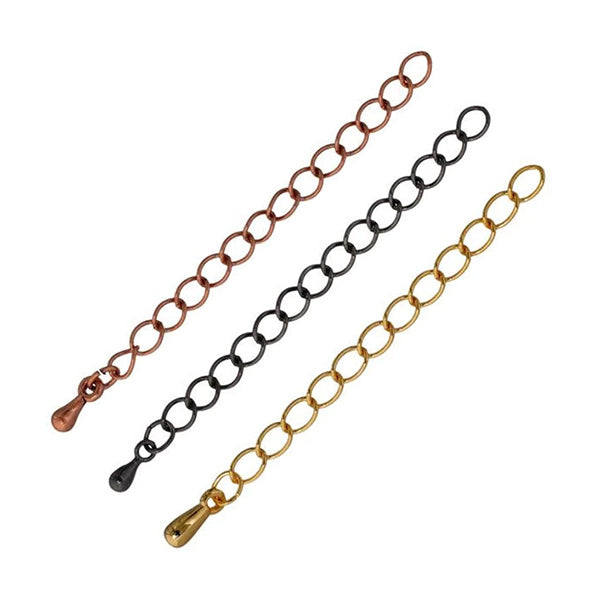 Chain Extenders
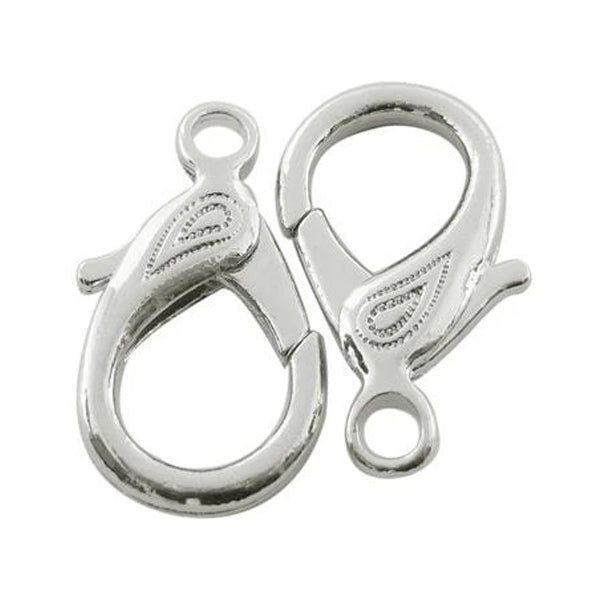 Clasps
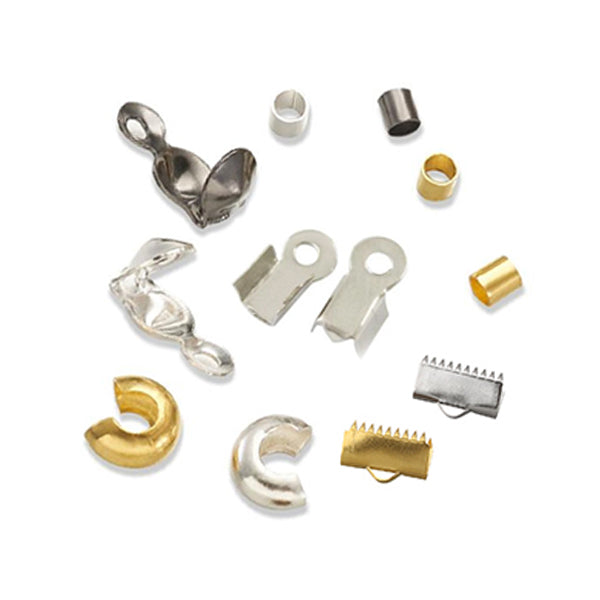 Crimps & Ends
 Conchos
 Connectors
 Earring Components
 Eyelets & Snaps
 Findings Sets
 Garment Studs
 Hair Accessories
 Head & Eye Pins
 Jewelry Parts
 Jump & Split Rings
 Key Chain Parts
 Mobile Phone Acc.
 Safety Pins
 Wire Guards
Turn a page, a pattern or a piece of saved wrapping paper into something you can wear. Follow the illustrated tutorial, try different shapes and make each bead your own.
Cut. Roll. Finish. Create.
A paper bead begins with a simple transformation: a flat strip becomes a three-dimensional form. The strip’s width, length and outline influence the shape, while the visible edges build up colour and pattern. A magazine photograph may turn into abstract stripes; brown paper can suggest a warm, wood-like surface.
Paper beadwork has appeared in decorative craft and jewellery traditions and is also practised by contemporary artists and community enterprises. Many popular accounts repeat a precise Victorian origin, but it is more useful to recognise the craft’s varied history than assign every technique to one starting point.
Reuse is part of the appeal. A saved gift wrap, an old calendar or a page with personal meaning can become a small keepsake. You do not need an expensive paper to make an interesting bead. Begin with a few scraps and discover how their thickness, colour and surface behave.
Tick off what you have ready. A small test batch lets you check the paper, adhesive and finish together before preparing a whole sheet.
This tutorial starts with a long triangle. A 30 mm base gives a useful practice size; use smaller widths when you want shorter beads. The mandrel determines the hole size, so choose it with your planned stringing material in mind.
Place your paper face down on your work surface so that the side facing you is not the side that will form the outside of the bead
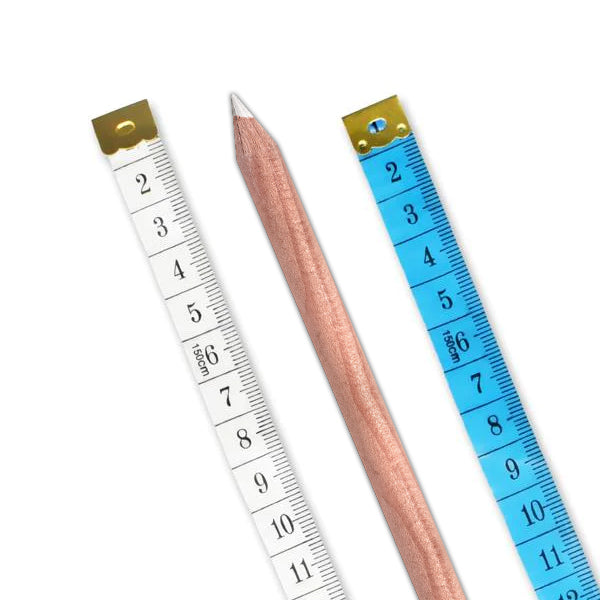
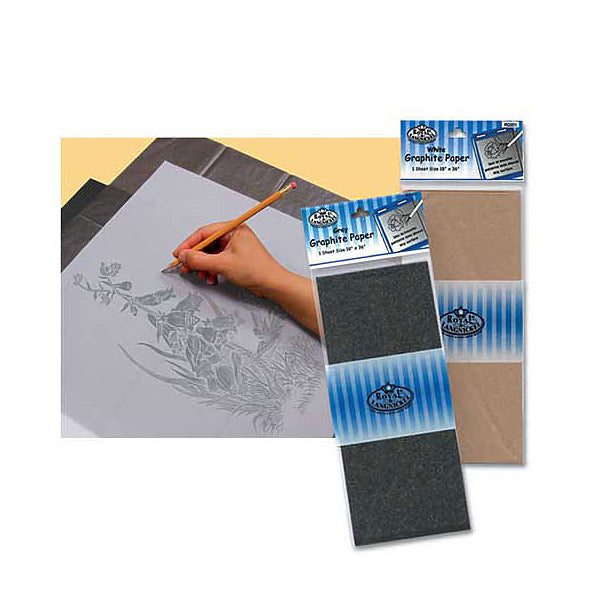
With a sharp pencil mark up the reverse side of your paper sample by marking-up one short edge of your paper with divisions spaced 30mm apart. On the opposite short edge of your paper make a mark 15mm in from the edge and then continue with divisions 30mm apart. In this way you should have the makings of a long isosceles triangle when you join two adjacent marks on the first edge, points A and B, with the central mark on the opposing edge, point C.

Continue marking up the paper until you have the desired number of triangles to cut out. To simplify this step and to aid repetition you could make a paper bead template to draw around or if the paper is of a suitable size use a computer, a graphics package, and a printer to print the layout on to the paper.
At this point it is worth noting that these measurements have been provided as a starting point, but ultimately it is the ratio of these measurements, combined with the overall length of the paper you are using plus the shapes that you use that will determine the dimensions and shape of your finished paper bead. Experiment!
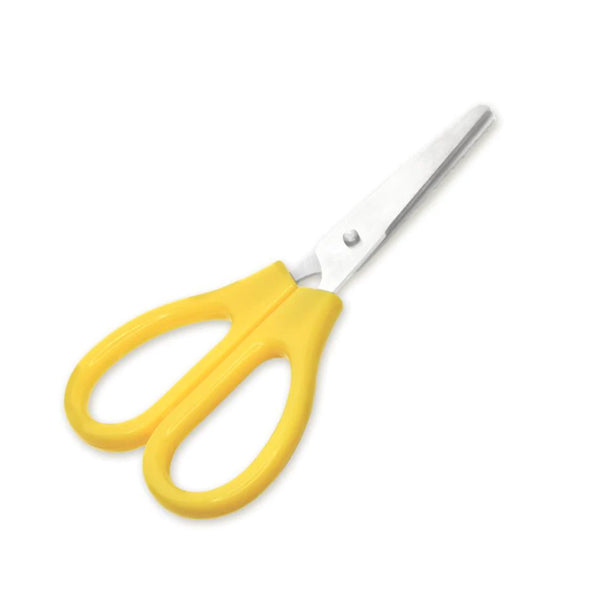
Carefully cut out the triangles using scissors or for a more accurate cut use a straight edge and a craft knife or rotary cutter.
Take your skewer or dowel and starting at the wide end of your paper sample roll the paper around the skewer slightly so that it starts to form a cylinder. Once you are happy with the alignment roll this back and with a brush apply a little glue across the width of the paper immediately below the line of the skewer. Now carefully roll the paper past the glue and continue onwards ensuring that each spiral at the side of the bead is symmetrical as it forms. If you run out of alignment you can simply unroll the paper back as far as the last application of glue to correct the alignment.

At intervals apply another line of glue to secure your work so far. This is far cleaner than covering the whole triangle in glue at the outset.

When you have about 3 cm remaining, cover this remainder with a thin coat of glue leaving a border around the edges. When rolling the glue will be forced over this border without squeezing out over the sides of your beads.
When the paper is completely rolled make sure the end is securely stuck down before rolling the bead through your fingers with a light pressure to ensure it is cylindrical and secure. If there is any glue residue at this point a quick gentle wipe with a damp cloth will suffice.

Slide the rolled bead carefully off the skewer or dowel. Transfer it to a cocktail stick or suitable drying support, keeping the hole open, and let the adhesive dry according to its instructions.
Apply thin, even coats of a compatible craft finish, allowing the recommended drying time between coats. Keep the hole clear and prevent the bead from bonding to its support. Let the finish cure fully before stringing or wearing; touch-dry and fully cured are different stages.
Check the finished bead for a secure tip, a clear hole and a fully dry surface. Make a small sample strand before cutting a whole batch. Save the template, paper choice and measurements if you want to repeat the result.
Start at the wide bottom edge and keep the point centred to build a fuller middle and narrower ends.
Cut out the central V, leaving the tails joined at the base. Roll both tails together for a bead with two raised ends.
Start at the wide bottom edge. Keep the straight side aligned to build an asymmetrical taper.
Roll from the broad bottom edge into the narrow neck. The extra layers build up the centre.
A constant-width strip builds a cylindrical roll. Start at the bottom short edge.
A broader final tip exposes a little more of the paper pattern. Roll from the wide bottom edge.

To make beads with different shapes, vary the size and shape of the paper triangles that you cut out. There are a number of different templates for making paper beads available on the internet. The following options are a guide but it is possible to add your own permutations:
To provide a neater finish to your beads and to show more of the paper pattern, simply cut the tip from the triangle as indicated in the diagram above. This will give a broader end to the last part of the roll. This is particularly effective if you are using patterned paper or paper with text, as it will show the detail of the pattern or lettering.
To provide a stronger, neater, flatter core to the finished paper bead add a rectangular area of paper to the long base of the triangle as shown in the diagram above. This doesn’t need to be more than 1.5cm long, and should simply allow for a few turns of the paper around the skewer or dowel. It also makes initial alignment of the paper easier. It has the added bonus of making the beads sit better against each other. On the downside, the initial stage of laying out the paper for cutting becomes more involved, but in the end it is worth the extra effort.
To monitor progress and to ensure ongoing symmetry it is worthwhile adding some parallel pencilled lines to the back of the paper at the marking up stage.
If you get bored with making straight edged beads invest in a guillotine or a pair of craft scissors with a decorative cutting edge – there are lots of patterns to choose from.
Once you have a set of paper beads experiment with finishes and embellishments to add extra interest – be it gilding, wire wrapping, adding fancy papers, using specialist glazes, or simply painting them with acrylics, the options are endless.
Weight, flexibility and surface finish matter. Very thin paper can tear; stiff paper can resist a tight roll. Test the ink with your glue and sealer, especially on printed or coated sheets. The last part of the strip and its exposed edges have the greatest influence on what you see.
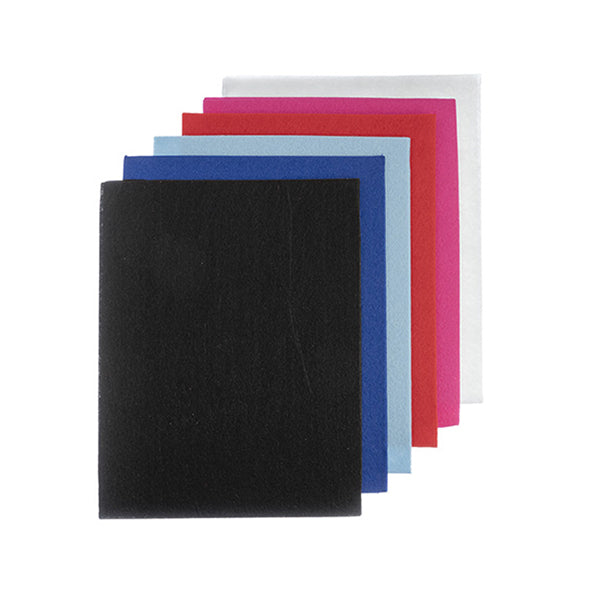
Coloured drawing papers offer a wide choice of shades and surface textures for paper beads. Papers sold for pastels, charcoal and pencil work vary in thickness and flexibility, so roll a small sample before cutting a full sheet. A textured paper such as Fabriano Tiziano is one option to experiment with. Compare the price per sheet and the way the paper rolls; art paper is not always cheaper than wrapping paper.

Coloured copy paper is useful for solid-colour beads and printed cutting templates. Check that the paper is suitable for your printer, then print at 100% / Actual Size and measure the template’s scale line before cutting. If you want to repeat a design, note the brand, colour and paper weight, and keep enough from the same pack; colours and availability can change.
Specialist papers such as Japanese Chiyogami, Italian Fiorentine and marbled papers can add detailed patterns to focal beads or embellishments. Look for them through fine-paper and bookbinding suppliers, and try sample sheets or small packs when available. Test how each paper rolls and how its colours respond to your adhesive and sealer before making a full batch.

These largely unwanted additions to newspapers and letters can be used in much the same way as magazines. A better end for them than the trash bin!
This is a great way to recycle old magazines and the resulting colour combinations achievable are endless. When selecting pages remember it is the edges of the strips that will be visible on the finished bead as well as the end of the roll. Unless you are using paper from the large format magazine, typically fashion related titles, it may be worthwhile opening the staples on the magazine and using a double page spread.
Newspaper is worth trying for lightweight rolled beads, and a wide sheet lets you cut longer strips. Do not assume the ink is colourfast: it may transfer to your hands or react with glue and sealer. Test a small offcut with the products you intend to use, let it dry fully and check for smudging or colour changes before making a batch. Handle thin strips gently and use a light application of adhesive.
Whether plain or printed this paper makes for really good beads. Plain brown paper makes for a wood-like appearance when varnished, which can be enhanced by selecting antique effect varnishes. Printed brown paper bags tend to have pleasant earthy tones, which again give a vintage feel to your upcycled paper bead jewellery.

Like the plain brown paper bags this paper gives a lovely wood-like finish once varnished and is a nice weight to work with. Plus there are now more colour options available than previously. Another opportunity to practice upcycle crafting and making beads from recycled paper.

Wrapping paper offers a wide choice of colours and patterns, including saved scraps from gifts. Thickness, coatings and printing vary, so price alone does not tell you how well a sheet will work. Test a strip for tearing, ink transfer and its ability to hold a neat roll. Very stiff or heavily coated paper may be harder to shape and glue.

Unroll to the last glued section and realign. Keep an even tension, centre the point and use guide lines on the reverse of the paper. A rectangular starting tab can make the first turns easier.
Use a little compatible adhesive under the final tip, then hold it until it grips. Too much glue can wrinkle the paper or squeeze out; a thin, even layer usually gives better control.
Keep adhesive away from the mandrel at the start and keep finish out of the hole. Check that the bead releases during the appropriate stage for your chosen product, without disturbing a partly cured surface.
Test a scrap before coating the full batch. Allow each layer its specified drying time and the final coat its full cure. Some papers, inks and finishes are incompatible; a different product combination may be needed.
A sealed paper bead is still made of paper. Treat it as a water-sensitive decorative component: remove it for swimming, showering and washing up, and avoid prolonged damp storage. The degree of water resistance depends on the materials and the completeness of the coating; no general tutorial can promise that every bead is waterproof.
Keep finished beads dry and let newly coated pieces cure fully before placing them in a closed container. Clean gently with a soft dry cloth. When assembling jewellery, smooth spacers and suitable hole clearance help reduce wear at the paper edges.
Try a small design exercise: make three beads from the same paper using different strip widths, then three more with the same template but different papers. Comparing those samples teaches you more than changing every variable at once.
New arrivals, inspiration, updates and offers, straight to your inbox.
Thanks for subscribing!
This email has been registered!
Last updated: October 19, 2026
Summary of i-Bead Inc.'s Terms of Service:
Product Descriptions: i-Bead Inc. strives for accurate product information, but errors may occur. Product availability and specifications, like size, are subject to change.
Product Images: Images are for representation purposes; actual products may vary in appearance due to display settings or manufacturing differences.
Copyright & Intellectual Property: All content on the Website is owned by i-Bead Inc. or its licensors. Users are granted a limited, non-commercial license to view and print content for personal use but cannot reproduce or distribute it without permission.
Trademarks: The i-Bead name and logo are trademarks of i-Bead Inc. Unauthorized use of trademarks is prohibited.
Use of the Website: Users must comply with laws and the Terms. Account creation may be required for certain services. Users are responsible for account security and cannot engage in harmful behavior or unauthorized access.
Pricing & Availability: Prices are listed in Canadian Dollars (CAD) and are subject to change. Additional charges for taxes, shipping, and duties may apply. Out-of-stock products may be removed or delayed.
Limitation of Liability: i-Bead Inc. is not liable for any indirect damages, and the website is provided "as is" without warranties.
Privacy & Data Protection: The use of personal data is governed by the company’s Privacy Policy, which users should review.
Indemnification: Users agree to defend and hold i-Bead Inc. harmless from any legal issues arising from their use of the site or violation of the Terms.
Modifications: i-Bead Inc. can update these Terms at any time. Changes will be effective upon posting.
Governing Law: The Terms are governed by the laws of Ontario, Canada, and any disputes will be resolved in Ontario courts.
Contact Information: For questions, users can contact i-Bead Inc. at their address or via email or phone.
Summary of i-Bead Inc.'s Refund Policy:
In-Store Purchases: Items can be returned within 30 days with the original receipt for an exchange, store credit, or refund. Must be unopened and in original condition.
Online Purchases: Returns allowed within 30 days of receiving your order. Prior authorization required. Items must be unopened and in original condition.
Non-Returnable Items: Sale items, opened packages, broken strands, cut items (e.g., fabric, ribbon, rhinestone banding, etc), books, patterns, and special orders cannot be returned.
Restocking Fee: Returns after 30 days incur a 20% restocking fee. Clearance/discontinued items cannot be returned after 30 days. Returns initiated beyond 90 days are not eligible for a return or exchange.
Damaged/Defective Items: Contact customer service within 48 hours. Return shipping will be covered, and you can request a refund or replacement.
Return Instructions: Include the reason for the return and your order details. We recommend using a traceable shipping carrier. Returns must be prepaid, and customs fees are not covered.
Refund Process: Refunds will be issued after inspection, minus shipping costs, and may take 1-2 weeks to process.
For returns, the items must be in their original, unopened condition.
Shipping rates, eligibility, discounts and exclusions are explained in our Shipping Policy. Available shipping methods and applicable charges are shown at checkout.
Important: Read these limitations before selecting this lower-cost shipping option. Stamped Envelope Shipping uses Canada Post Lettermail, not a tracked parcel service.
If you want tracking, delivery confirmation or available carrier insurance, select an eligible tracked parcel shipping option instead.
Summary of i-Bead Inc.'s Sales Tax Policy:
Orders delivered within Canada: Applicable GST/HST is calculated based on the delivery province or territory. Please see our Sales Tax Policy for current rates.
First Nations tax relief: Eligible customers may qualify for GST/HST relief. Please review our Native Status Cards policy for eligibility and application requirements before ordering.
U.S. orders: Shipping to U.S. addresses is temporarily suspended.
International orders (outside Canada and the U.S.): We do not charge Canadian GST/HST on goods shipped outside Canada. Destination duties and taxes may apply and are the recipient's responsibility.
Summary of i-Bead Inc.'s Native Status Card Policy:
Tax Exemption Eligibility: Status Card holders can qualify for GST/HST relief if:
Ontario Residents: Eligible for an 8% HST rebate on orders shipped within Ontario.
How to Apply:
Important: Misrepresentation of eligibility can result in penalties from the CRA.
In short, eligible Status Card holders can receive tax relief by following the proper procedure and submitting required documentation.
Summary of i-Bead Inc.'s Privacy Policy:
i-Bead Inc.'s Privacy Policy outlines how they collect, use, and disclose personal information. They gather data directly from users (e.g., contact details, order info, payment info) and through tracking technologies (e.g., cookies). This data is used for order processing, marketing, security, and customer support. The company may share data with third-party vendors and partners for service fulfillment, marketing, and legal compliance. Users can access, correct, or delete their data, and opt-out of marketing communications. The policy also covers data security, retention, and international transfers.
By proceeding with checkout, you acknowledge and agree to i-Bead Inc.'s Terms & Conditions and the applicable policies linked above. Delivery estimates are not guarantees; weather, holidays, postal disruptions, and other carrier-related circumstances may cause delays. Shipping services differ in whether they include tracking, delivery confirmation and insurance, so please review the method you select at checkout and our Shipping Policy.