


Sign up for our newsletter
Sign up today to stay in the loop about the hottest deals, coolest new products, and exclusive sales.
Wahnapitae, ON P0M 3C0
Phone: 705-694-0065
Fax: 705-694-1594
Toll Free: 1-877-224-2323
Email: info@ibeadcanada.com
Mon-Sat: 10am - 6pm
Sun: 11am-5pm
Mon-Sat: 10am - 6pm
Sun: 11am-5pm
Free Shipping on Most Orders Over $150* – Learn More >
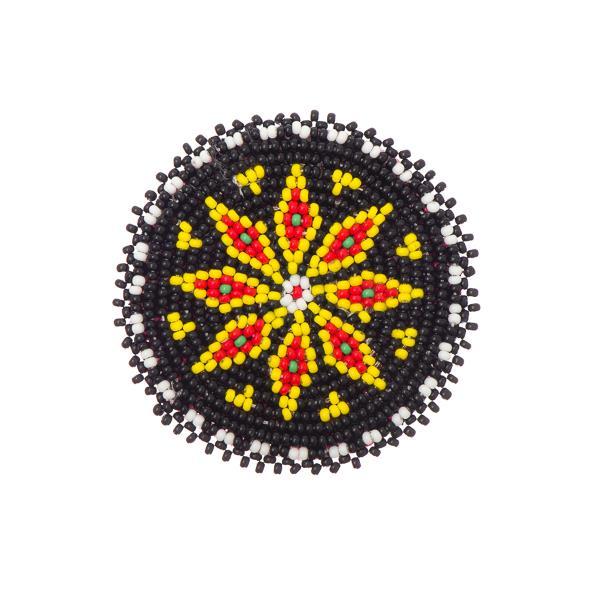 Beaded Rosettes
 Bells
Bells
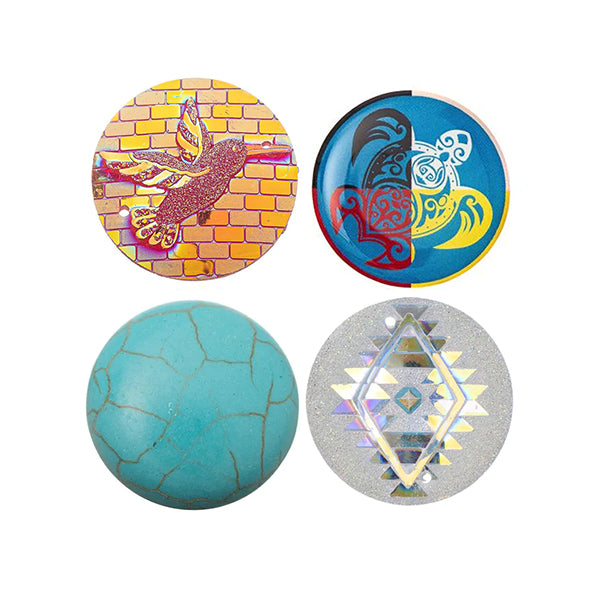 Cabochons
 Dolls & Acc.
 Dream Catcher Rings
 Drum Making
 Flat Back Stones
 Jingle Cones
 Mirrors
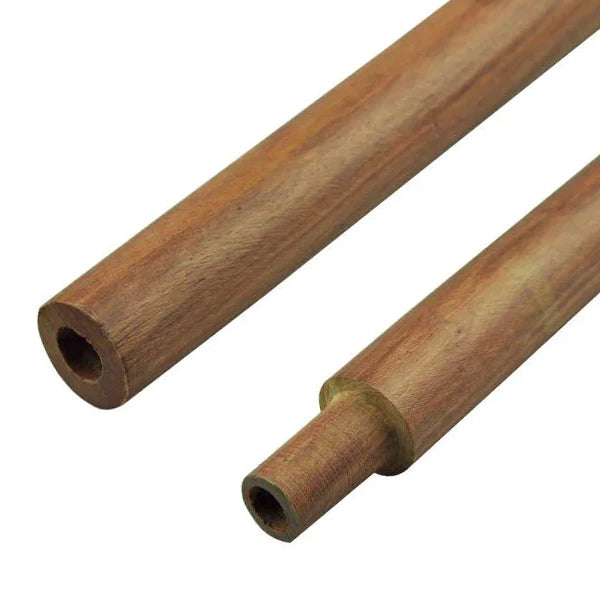 Pipe Stems
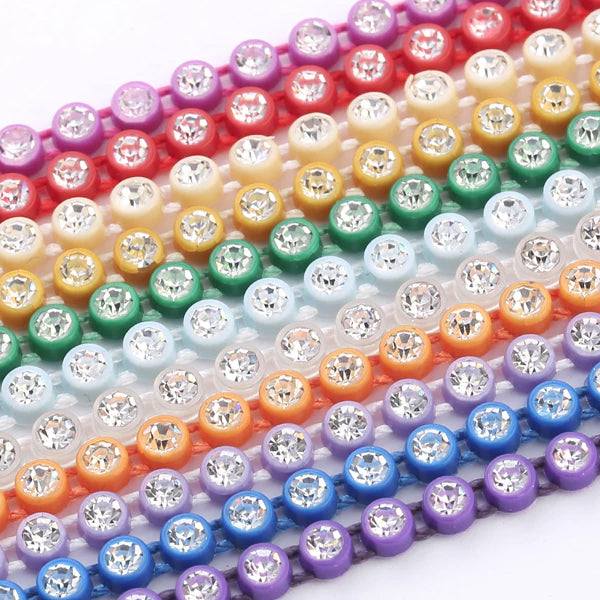 Rhinestone Banding
 Sequins
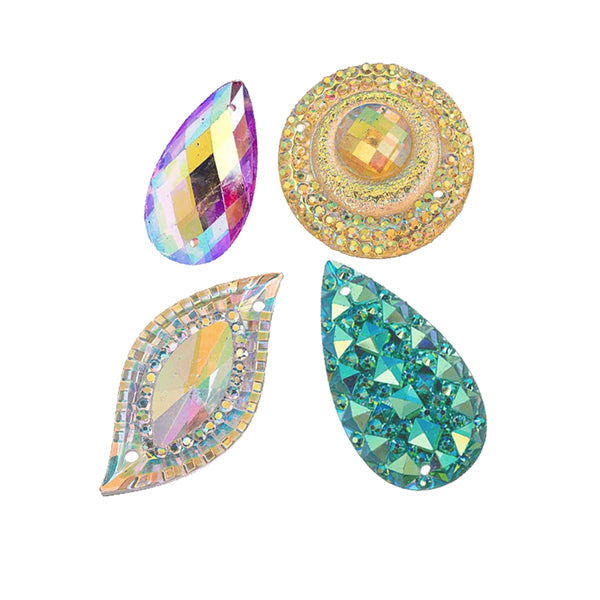 Sew On Stones
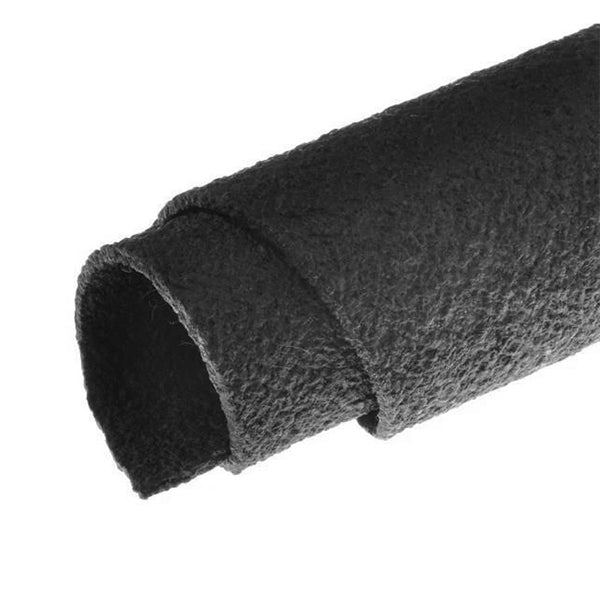
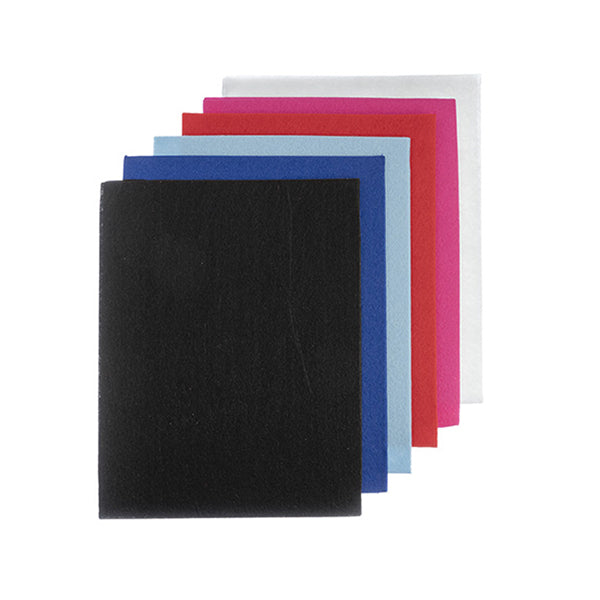 Beading Foundation
 Crepe Soles
 Fabric
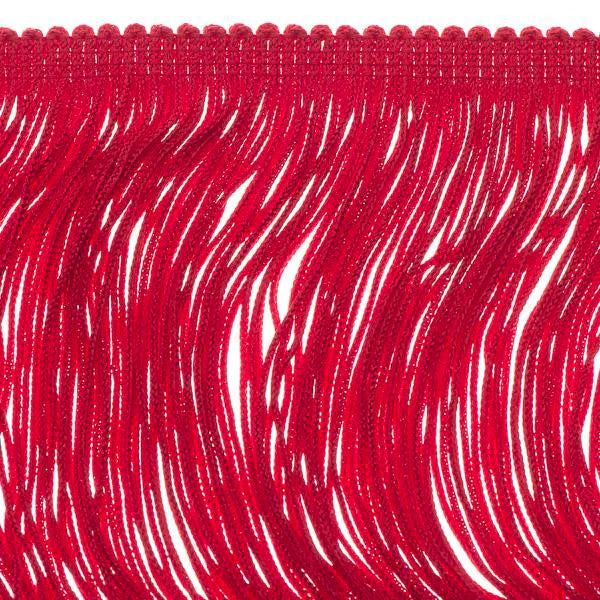 Fringe
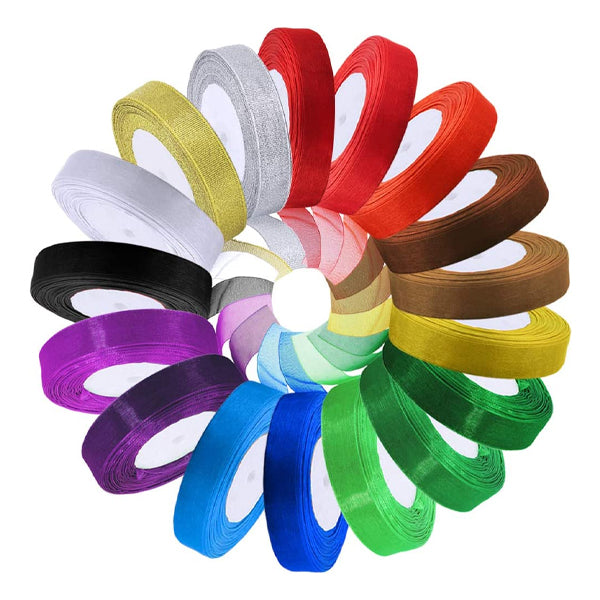 Ribbon
 Trim
Trim
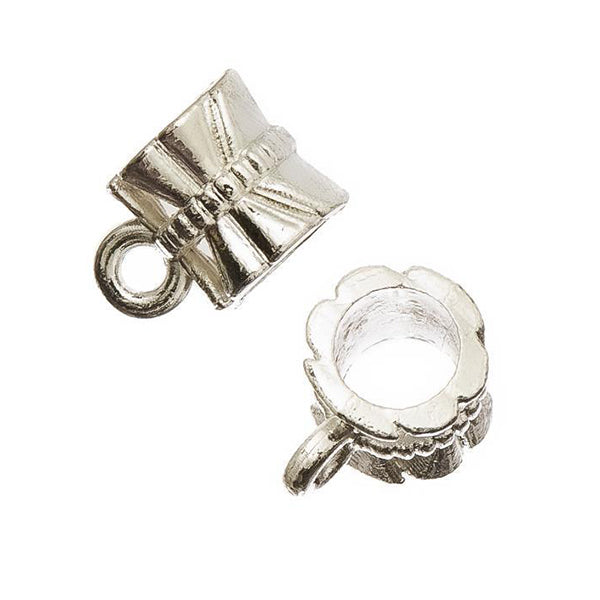 Bails
Bails
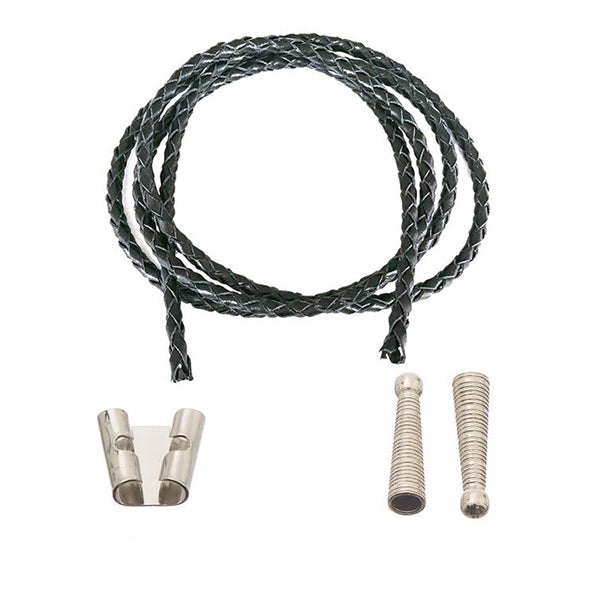 Bolo Tie Acc.
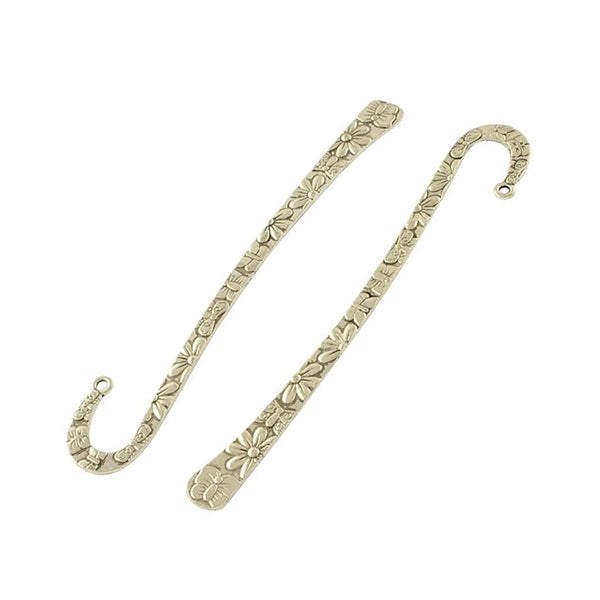 Bookmarks
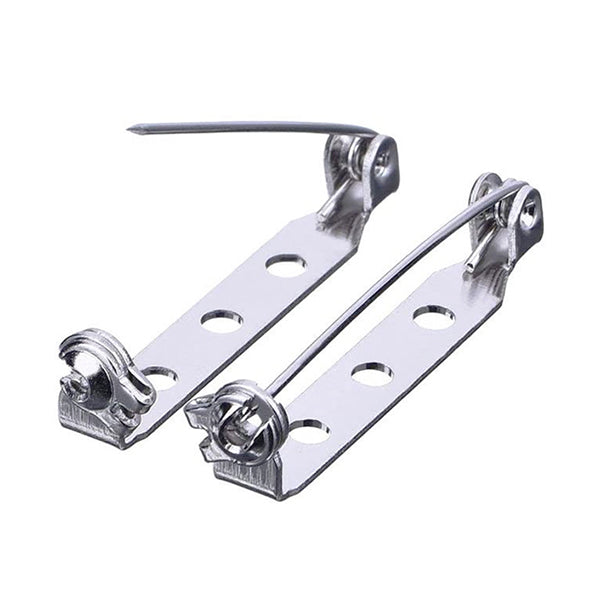 Brooch & Bar Pins
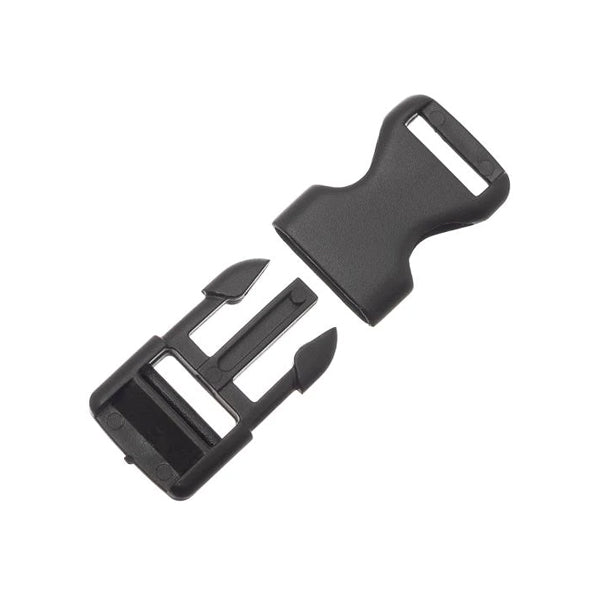 Buckles
 Buttons
 Caps & Cones
 Chain Extenders
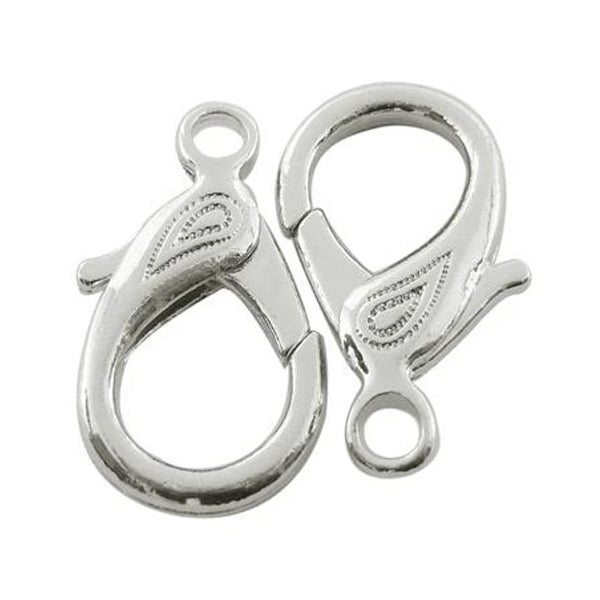 Clasps
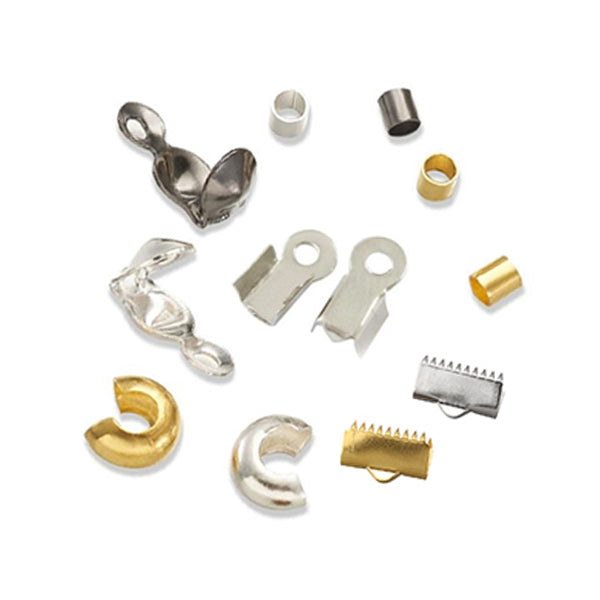 Crimps & Ends
 Conchos
 Connectors
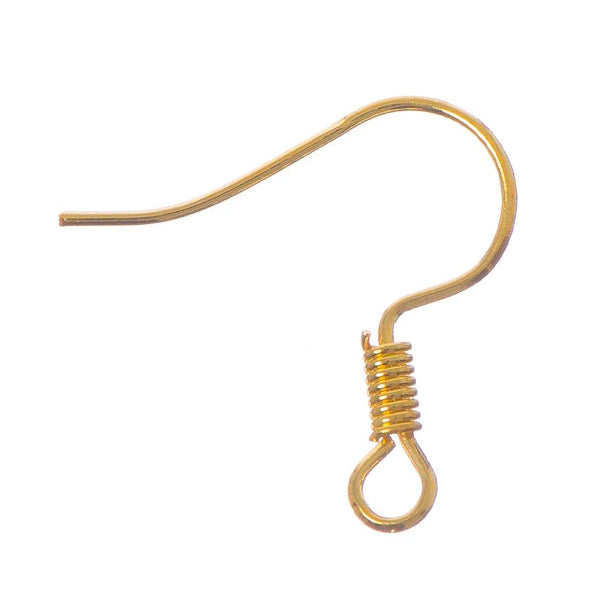 Earring Components
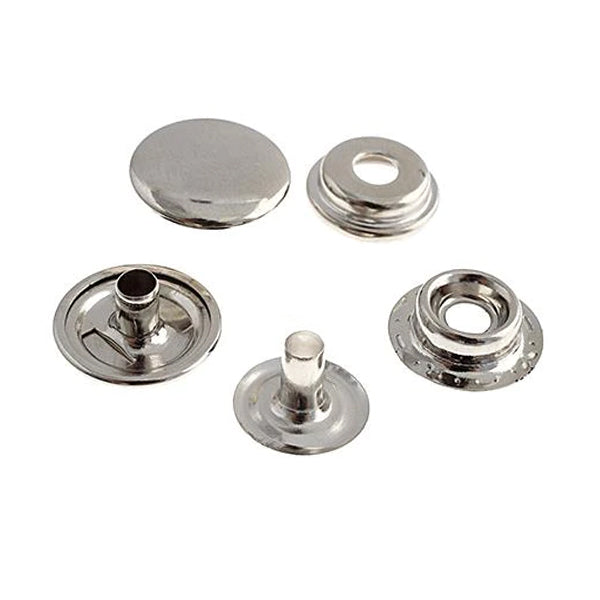 Eyelets & Snaps
 Findings Sets
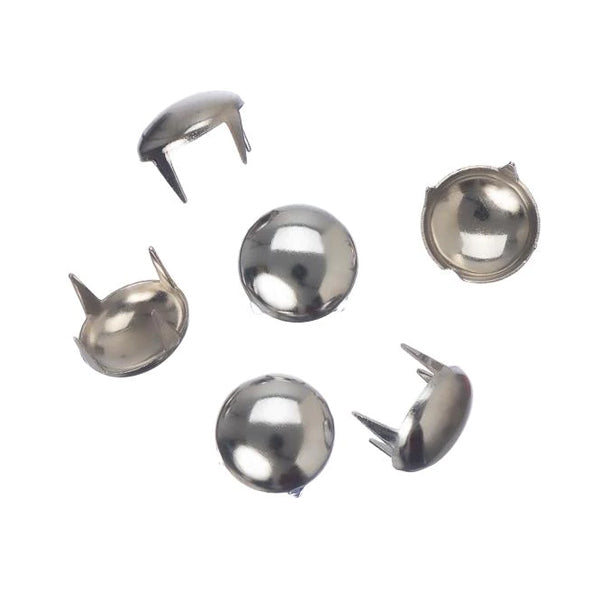 Garment Studs
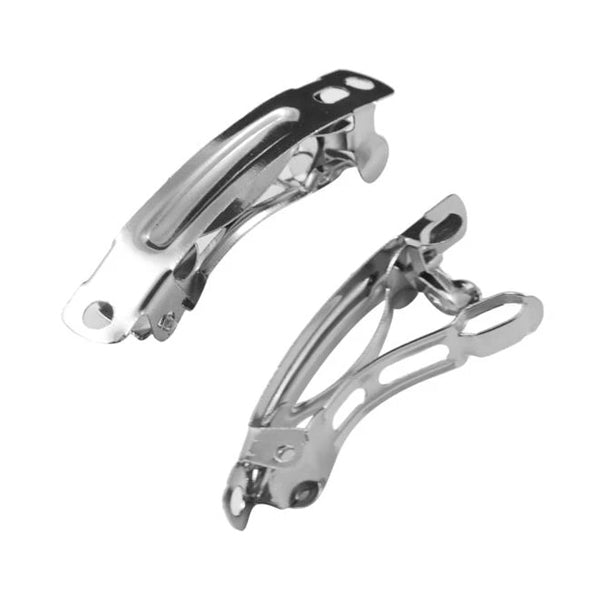 Hair Accessories
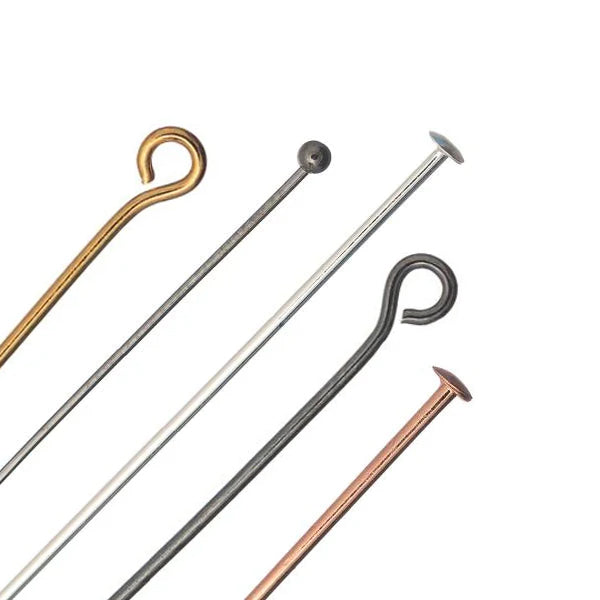 Head & Eye Pins
 Jewelry Parts
 Jump & Split Rings
 Key Chain Parts
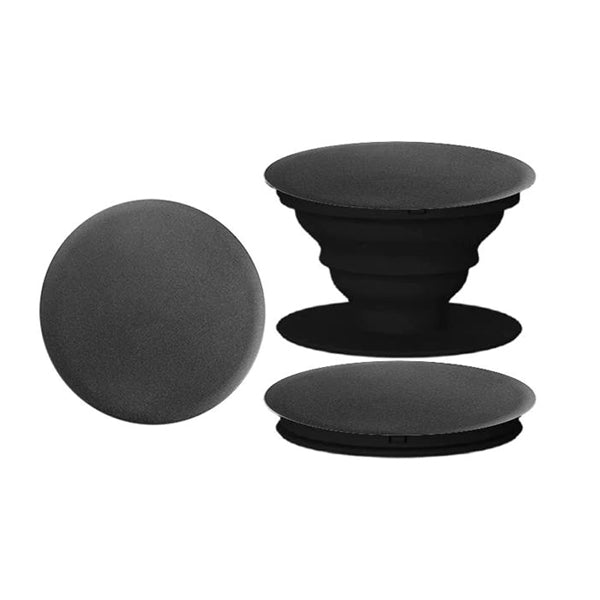 Mobile Phone Acc.
 Safety Pins
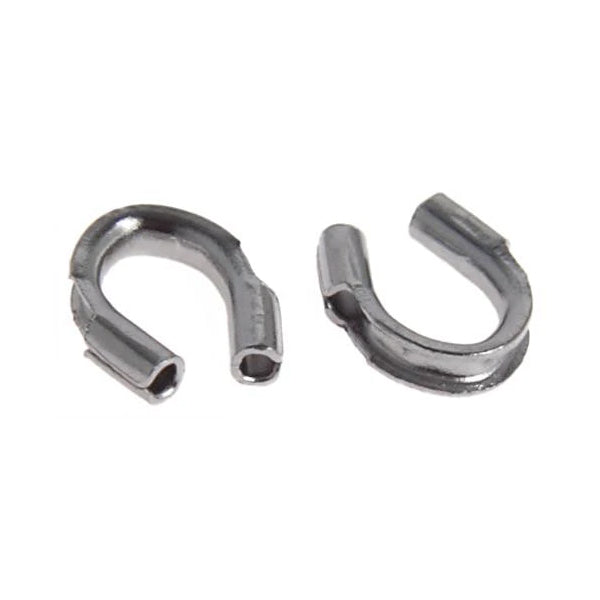 Wire Guards
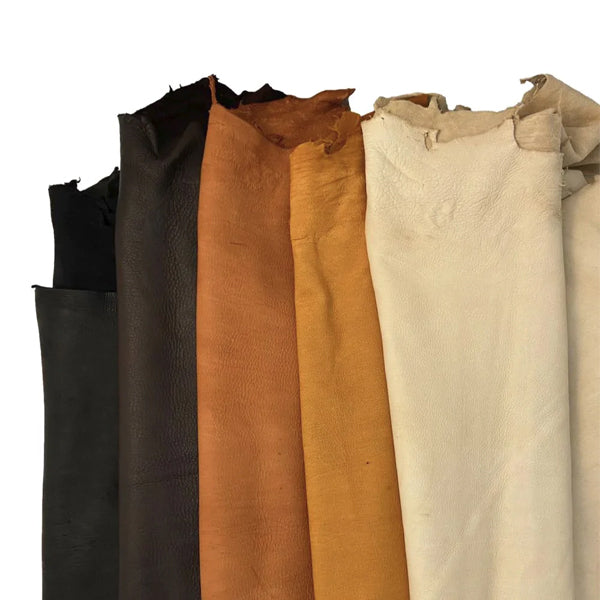 Leather & Rawhide
 Cord
Cord
 Chain
Chain
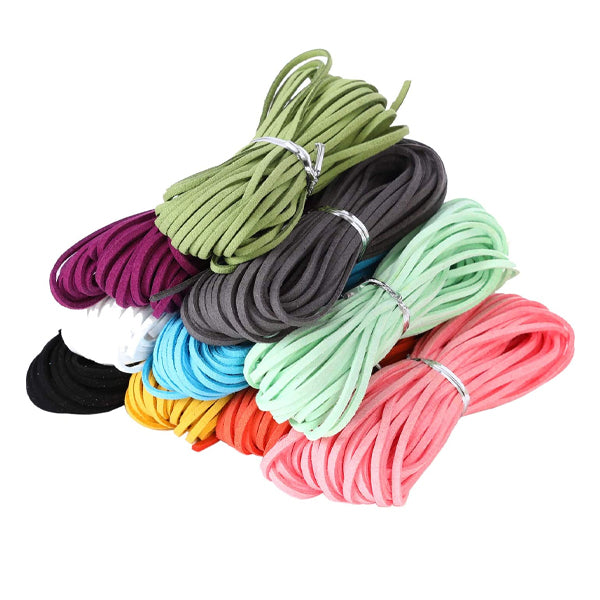 Leather & Suede Lace
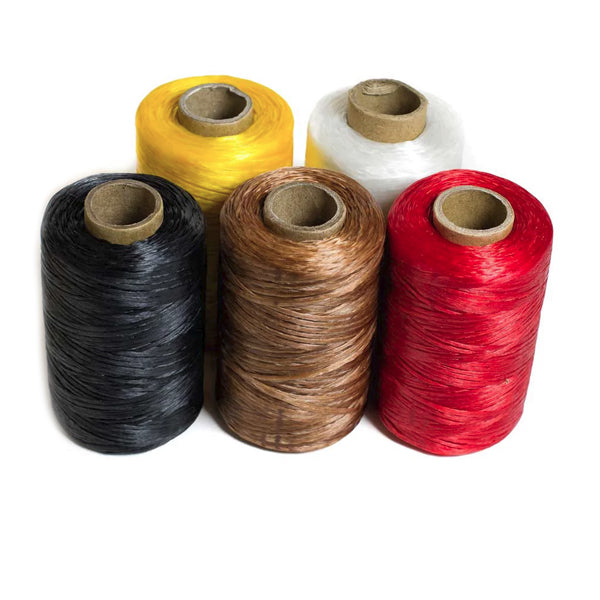 Sinew
Sinew
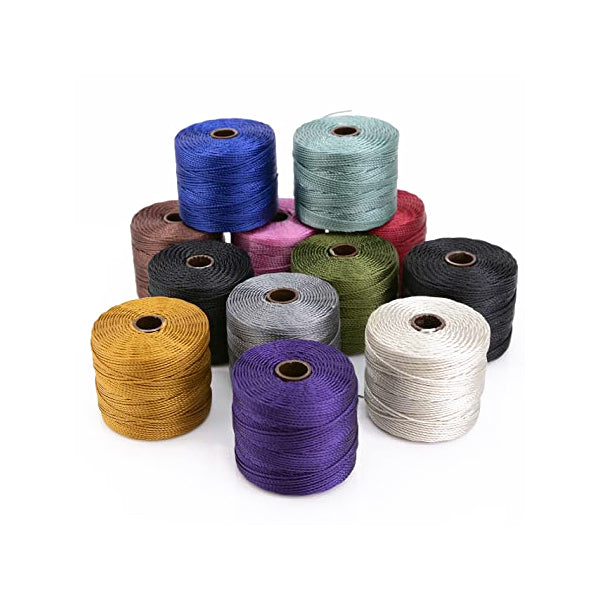
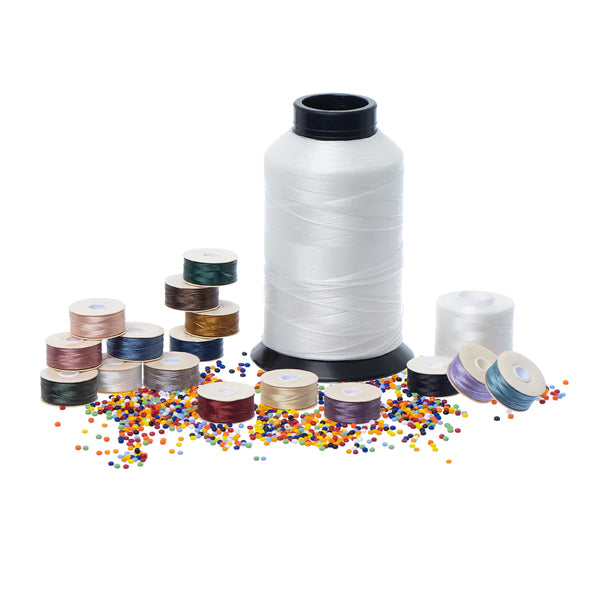 Thread
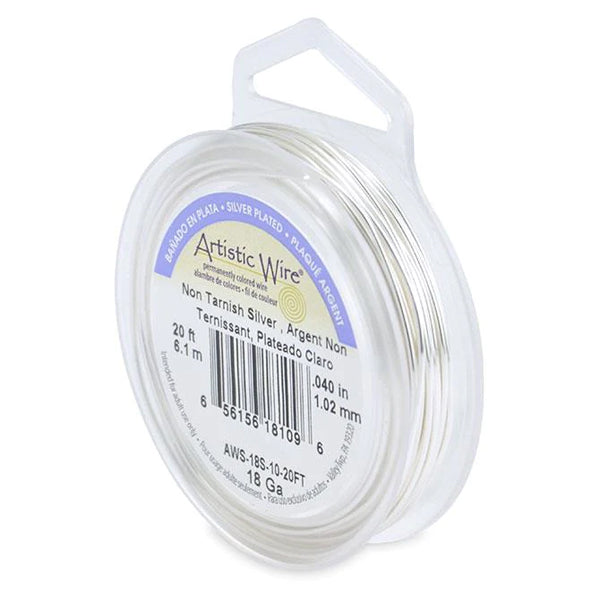
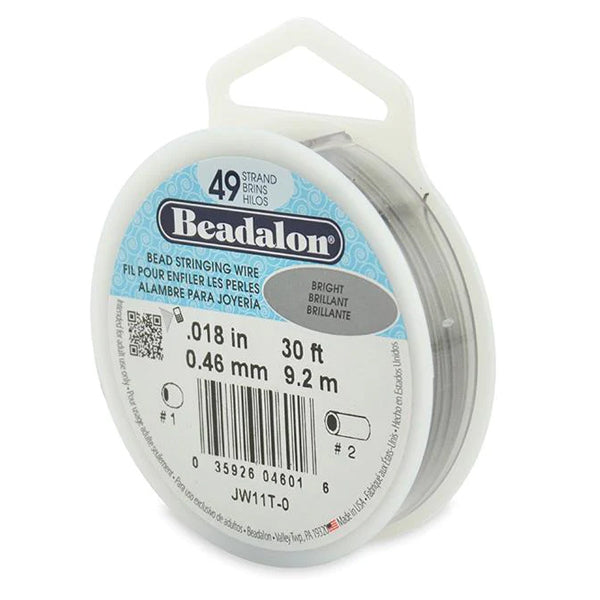 Jewelry Wire
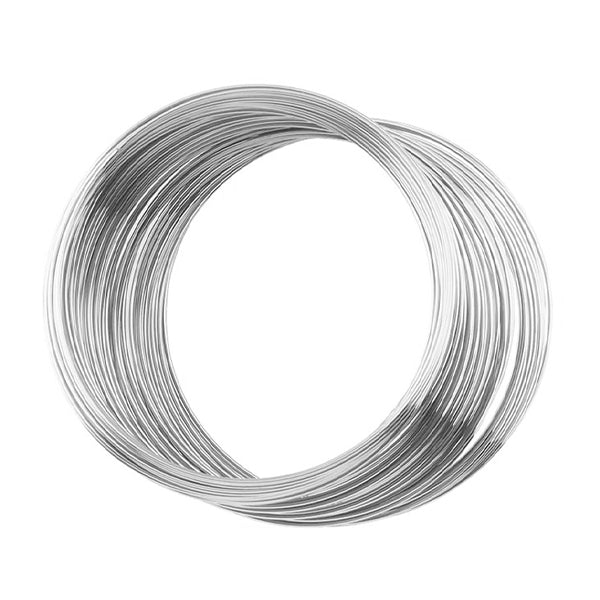 Memory Wire
 Shaping Wire
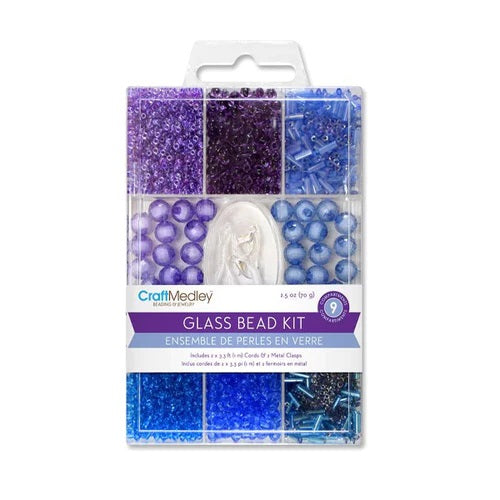 Bead & Craft Kits
 Books
Books
 Patterns
 Displays
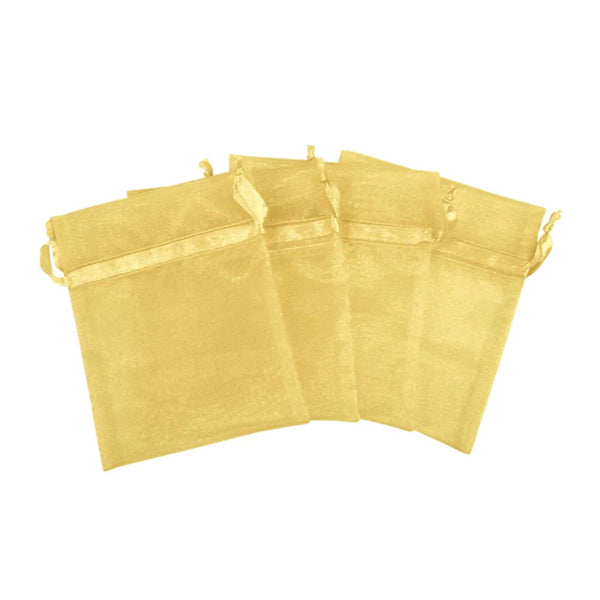 Gift Bags
 Gift Boxes
 Jewelry Cards
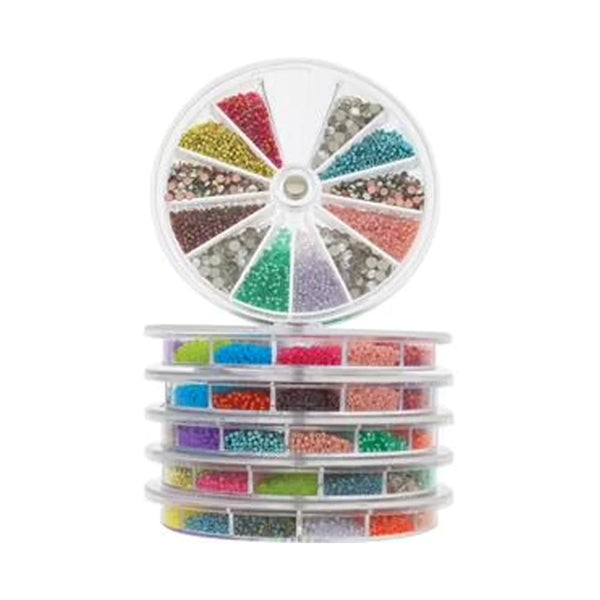 Organizers
 Tags, Labels & Stickers
 Zip Lock Bags
 Chakra
 Healing Stones
 Incense & Holders
 Mala Beads & Acc.
 Oils & Burners
 Rocks & Minerals
 Smudging
You can’t resist them and you feel a surge of creativity when you look at them but don’t know quite what to do with them? If you are new to beads and beading then read on as this guide to beadwork will help you get started by providing some useful beading making techniques and basic beading instructions.
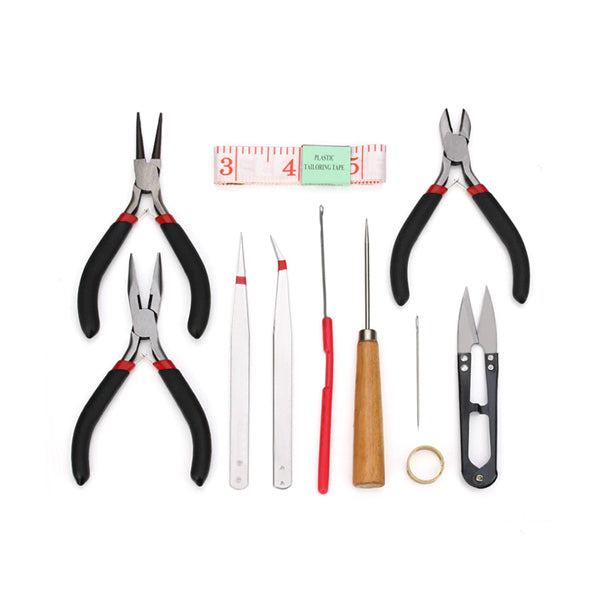
The five main ways of working with beads are: Stringing, Wirework, Loom Work, and Off-Loom Bead Weaving, alongside Embroidery, Knitting and Crochet. All are suited to the beginner but you need to choose projects carefully. The information provided here lists the materials, the tools and some of the techniques required for each area, with further reading suggestions to complement these basic beading techniques. With so many books on the market, a good browse in your bookshop or library is recommended. This will help you determine the style of teaching that suits you, and what type of projects appeal to you. Also check the popular beading and jewellery magazines, as these carry bead guides for beginners, bead hints and tips, as well as projects and advice on how to get started.
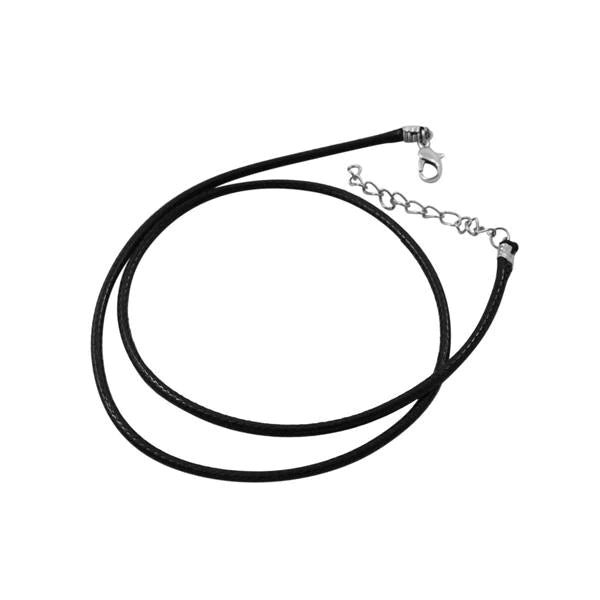
Stringing or threading beads onto nylon thread, cord, ribbon, flexible wire or leather thong to make necklaces, bracelets and earrings. Stringing can be as simple as threading beads onto a length of ribbon and tying a knot, but the scope for elaborating on basic beading techniques, applying a professional level of finish and using your imagination when selecting components can make stringing a very satisfying area to work in.
The key to successful stringing is to choose the correct thread to match the beads selected. The thread should not be seen as the support act, but given top billing with the beads. If you choose the wrong thread your piece of jewellery may break, develop kinks or look shapeless when worn. But don’t feel daunted by the huge choice of stringing materials available, just take the time to experiment with as many as possible. Read our Guide to Bead Cords, Beading Threads, Beading Wire & Memory Wire to view some stringing options.


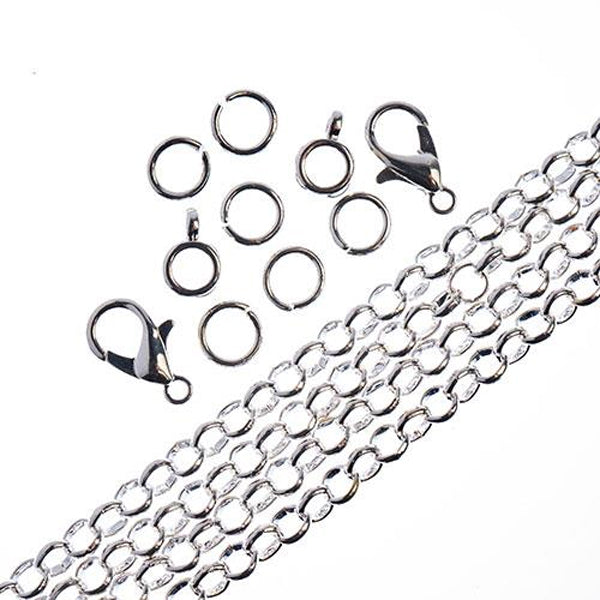
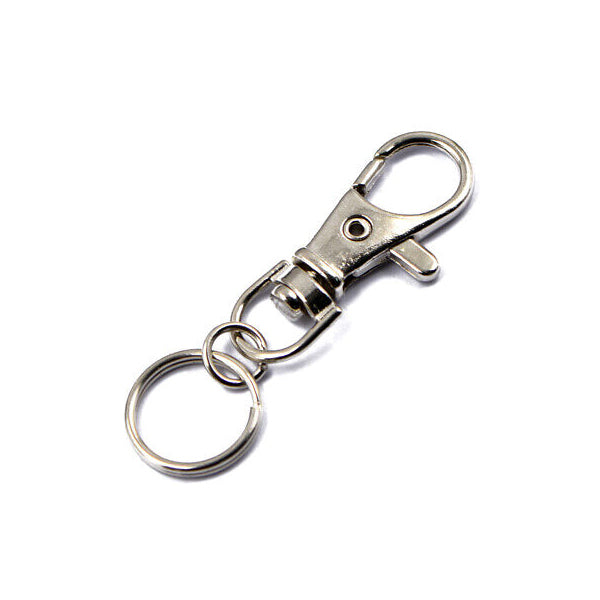
Consider how you are going to finish your string so that you have the right Jewellery Findings on hand. Will you use a clasp, cord or ribbon ends, crimp beads, crimp covers, or jump rings? Will you need a clasp that can cater for more than one string? The clasp is critical to the security of a piece, so consider the weight and value of the beads used when making your choice. The closure should also be compatible with the stringing materials used, so that it can easily take the weight of the components and fit securely on the string ends. Lastly, don’t forget that the clasp should be complementary to your design, or even the focus of it. When buying a clasp, check whether it comes with jump rings or if you need to purchase these separately. You may need one to form the second part of the clasp or you may want to use them to attach the clasp to the end of the string, allowing the string to pivot in all directions which helps with the ‘lie’ of the piece.
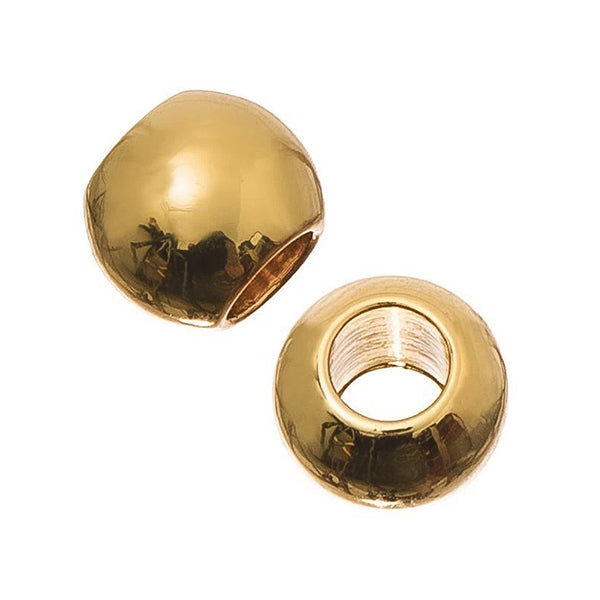
The usual way to attach a clasp to beading wire and some more robust nylon cords is to use a Crimp Bead. If you are working with a cut length of wire then start your piece with one half of the clasp, as this will stop the beads rolling off.
A Crimp Cover is a c-shaped bead that fits over the flattened crimp bead to hide it. Once closed carefully with pliers the cover resembles a regular metal bead.
Sterling silver crimp beads are thought to be superior because the soft nature of the metal allows for a more secure fit and a smoother finish. They are also less likely to break when under pressure. However, they are more costly and in most circumstances plated crimps will do the job very well.
Crimp beads can also be used to secure the position of beads in floating or illusion necklaces.
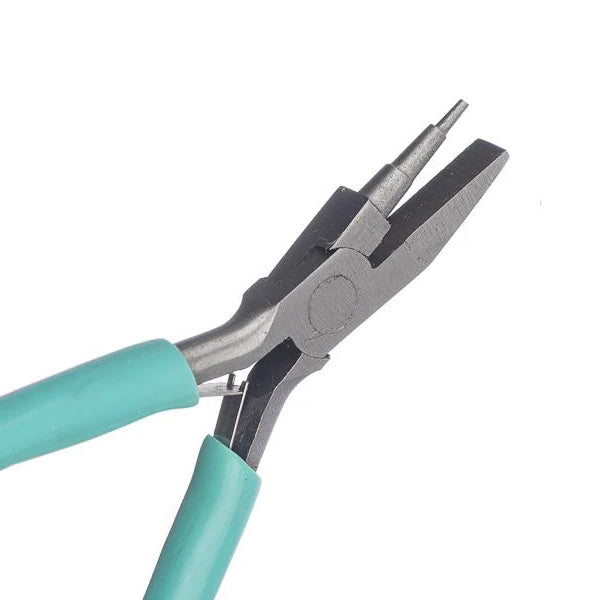
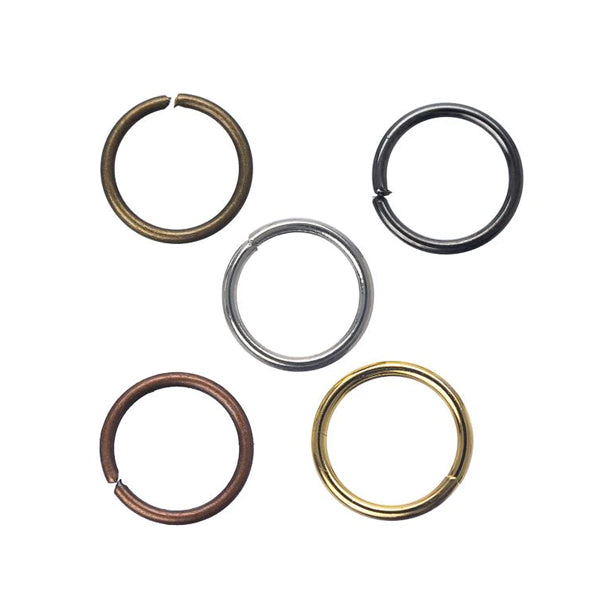
Never open a Jump Ring by pulling the two sides of the opening away from each other like a mouth opening. This will distort the shape. Instead hold each side of the opening with pliers, so hold the left side with pliers in your left hand, and likewise for the right. Hold one side still and push the other side away from you. To close repeat the position for holding and pull one side back to the centre. The jump ring should be closed as tightly as possible. If necessary use the tiniest squeeze across the jump ring to force the ends of the loop to meet, but squeeze too hard and you’ll end up with a 0 rather than an O.
It is possible to buy closed jump rings which have been soldered shut, and also split rings which look like very tiny key rings. These are more secure than standard jump rings. Split rings require a special tool to open them to save both your sanity and your fingernails!
There are a several important knots that you will use over and again in jewellery making and macramé. For example, a surgeon’s knot can be used to tie the two ends of your string together, and is the perfect closure for elastic cord bracelets or for long necklaces. To tie a surgeon’s knot see the illustration below and for added security add a small amount of glue when finished.


If you have long tails to your knot, then thread these back through a few beads and secure to the stringing line with an overhand knot as illustrated below. This is a good way of stopping the knot coming undone. For an alternative method, see finishing without a clasp below.


Knots can also be used in conjunction with findings to provide a neat finish to softer stringing materials such silk cord and nylon thread. You can knot directly onto the clasp and tuck the tail ends back through the beads, but it looks more professional to make use of a calotte or end cone. End cones tend to be used with multiple strands as a way of bringing several ends to one point. Calottes are used to hide a single knot and also provide a means of attaching to the clasp. Some calottes have a hole in them to pass the end of the thread through, whilst others simply close about the knot and have a channel to run the thread though. Tie an overhand or figure of eight knot using the illustration below and add a tiny drop of glue to hold the knot secure in the calotte. You may also want to incorporate a seed bead as extra anchor. Trim the thread end and gently use your chain or flat nose pliers to close the calotte. Then use your chain nose pliers to form the hook into a loop which can be attached directly to your clasp or with a jump ring.


Folding crimps, cord ends, and ribbon ends are all findings that are specifically designed for use with particular stringing materials. Folding crimps come in different widths and can be used with leather or suede thong. Cord and ribbon ends should be self-explanatory. These findings come in different dimensions and are generally very simple to use. Insert the end of your thread and use your pliers to fold or tighten the finding around the thread, using a drop of glue for added security.
It is possible to simply knot your thread ends with the method described above being one option. Another way of finishing a piece and giving the illusion of a continuous loop is to pass each of your two tail ends through the last four or five beads at the other end of the piece, thereby forming a loop. This will mean that the beads previously at the each end of the string will sit next to each other. Take each tail end and knot it against the main string using an overhand or half-hitch knot. For added security continue the tail end through another few beads and knot again before running the end of the tail through one or two beads and trimming off. If you want to use this method you will need to ensure you have enough thread at either end of your string to allow for the extra threading and knotting.

If creating a piece with beading wire it is also possible to do away with a clasp. You will need some crimp beads and ideally some crimp covers too. Insert a crimp bead between the fourth and fifth bead strung, and the beads fourth and fifth from the end of your string. As with the above instruction feed each end of the wire through the final few beads at the opposite end. Instead of tying a knot use the crimp bead to secure the loop. Add crimp covers to neaten the finish.
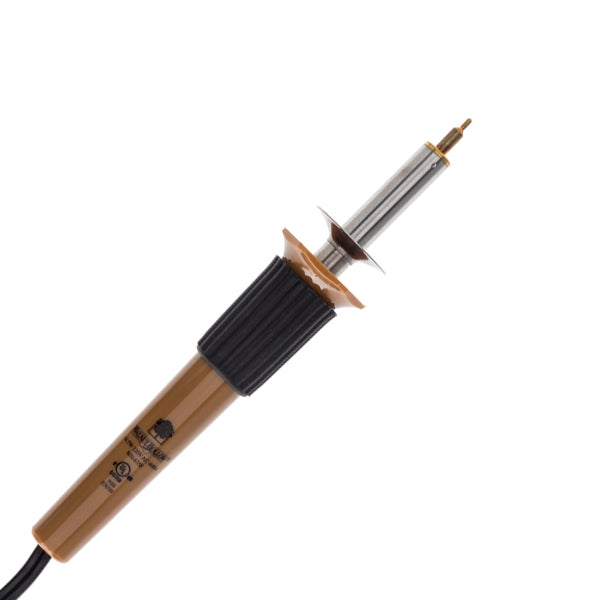
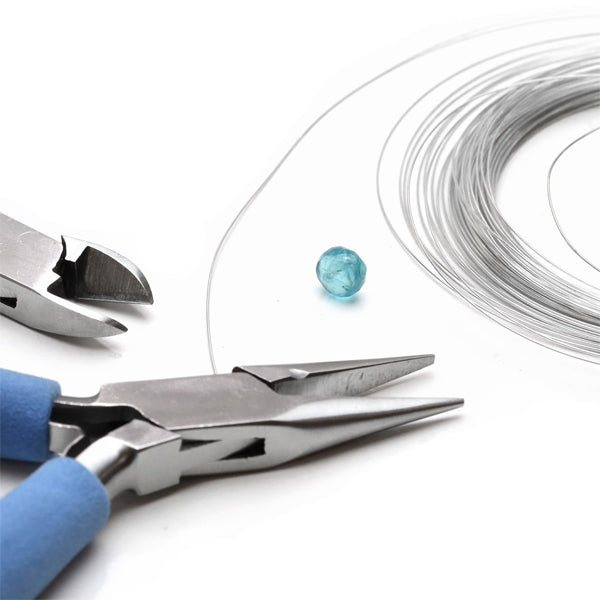
Unlike working with flexible beading wire, wirework is a technique that uses firmer single strand Wire that holds its shape. Working with different wire types it is possible to create tiaras, fascinators, beaded flowers, knitted and crocheted pieces, your own wire components, beaded decorations, and chain maille work. All of these can be completed without the need for specialist tools or a soldering iron, and you can produce work that is one-off, free-form and expressive, or structured pieces using a jig that can be reproduced (a jig is a former to bend wire around). Because no heat is used with this type of work, it is sometimes referred to as cold wirework.
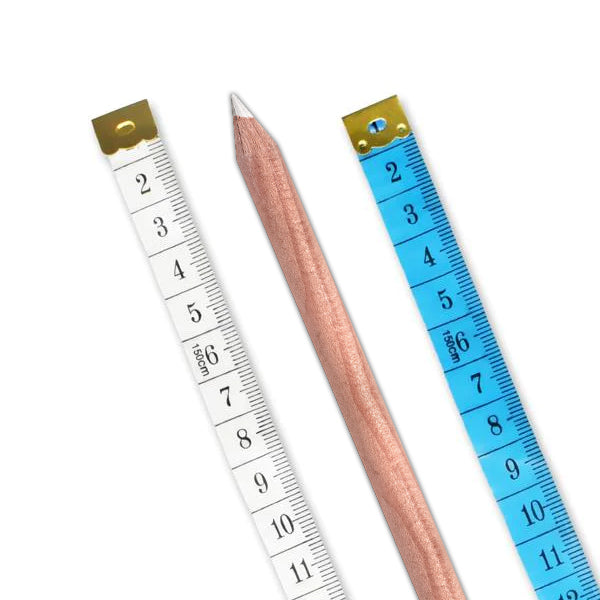
Wire is supplied in different Gauges, or thicknesses, which are denoted by a number using the American system or by its diameter in mm. Wire is available in four different levels of hardness: dead soft, soft wire, half-hard and full-hard, with Memory Wire being the hardest of all the wire types.
Wire comes in a wide variety of cross-sections including round, triangular and square.
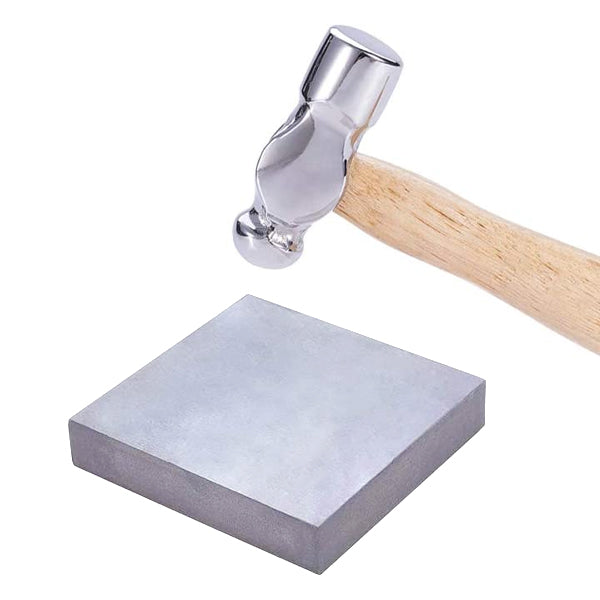
All wire will stiffen slightly as you work it (work harden) but you can stiffen (and strengthen) the wire further if you hammer it. Obviously this will also change the appearance of it, but this can give a very attractive finish. If making ear wires, hammer the curved part of the wire (the part that sits within your ear lobe) to give form and strength.
For general beading purposes you will need a few wireworking techniques under your belt but once mastered these will take you a long way. The first is turning a loop and the second is wrapping a loop.
A turned loop is a loop of the type that you will see at the end of an Eye Pin. A straight length of wire deviates to form a circle and at the end of the circle the wire terminates. You might need to turn a loop in order to finish off the other end of an eye pin or head pin so that they can be attached to other components in your piece, such as jump rings, chain, or wire. You can also create your own beaded links, basically one length of wire with a turned loop at each end and a bead in between, which when the loops are joined with other beaded links a ‘chain’ is formed.


Imagine you have an eye pin, have added a few choice beads and wish to form a dangle for a chain bracelet. Grab your round nose pliers and your wire cutters.
1. Cut the wire to within 1 cm of the final bead. Place your pliers on the wire next to the final bead, and using your fingers bend the wire against them to create a right angle bend.
2. Next take the end of the wire in between the jaws of the pliers and hold it so the wire end is flush with the outside of the jaw. Where you position the wire along the jaw of the pliers will determine how large your loop is. Try a few loops in different positions until you get a feel for where the wire should be placed.
3. Rotate the pliers away from you so that the wire started to wrap around the curve of the jaw. When you have turned as far as is comfortable in one movement, release your grip of the wire, reposition the pliers and continue turning your wire until you have a loop.
Sometimes referred to as a gallery wrap. Once again this is a technique that you can carry out to form a dangle or pendant, but it is slightly stronger than a simple turned loop. If using a head or eye pin you will need one with a longer length as the wrapping requires at least 3cm of wire after the final bead. You will need round and flat nose pliers as well as wire cutters.
1. If necessary cut the wire to within 3cm of the final bead. Place your round nose pliers on the wire next to the final bead, and using your fingers bend the wire against them to create a right angle bend.
2. Grip the wire next to the bend just formed, then wrap the tail end of the wire up and around one of the jaws of the round nose pliers to form a loop.
3. Change to your flat nose pliers use them to grip the loop, then using your fingers tightly wrap the tail end of the wire round the wire beneath the loop. Trim the excess with your cutters.
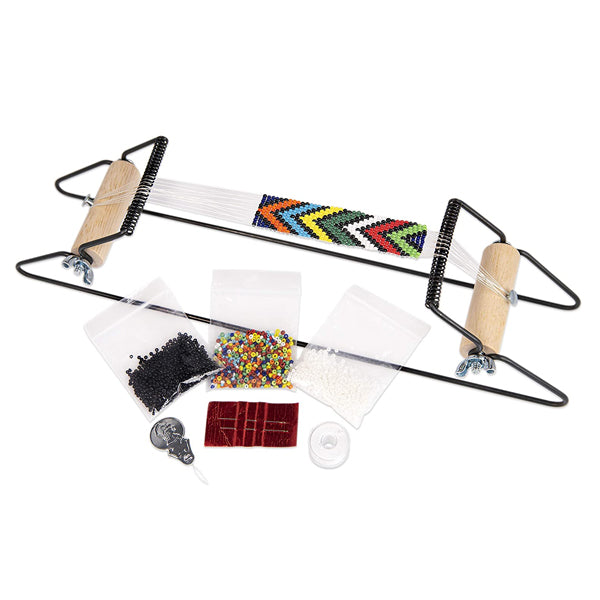
Woven bead loom work can be produced with small beads on a simple wooden or metal loom, either purchased or homemade using something like a picture frame. It is also possible to work with a tube loom to produce tubular beading for bags, bracelets etc. The basic techniques are easy to learn and from there you can learn to shape your loom work and add decorative finishes to the piece when removed from the loom.
When working on a traditional flat loom the warp threads (the long threads running the length of the loom vertically) support the work and the weft thread (running horizontally) passes through the beads and over the top of the warp threads. The thread used for the weft can be lighter than that used for the supporting warp, and it will need to be able to pass through the beads several times. Thread such as Fireline or PowerPro are good choices for the warp as you need to minimise the chances of splitting the warp thread with the needle as you weave with each pass weakening the warp (a tip is to blunt the end of your needle with sandpaper). Nymo can be used but it stretches and is easier to put your needle through. Nymo in sizes A, O or OO is perfect to use for the weft. The advantage of Nymo is that it comes in a myriad of colours, so it is possible to match the thread to the beads, with some warp thread visible in the finished piece, as will the weft edges, unless you add further decoration. It is also possible to use elastic thread and thin craft wire for the warp thread, to create stretchy or shaped pieces.
There are two ways to set up your loom, namely the individual warp method and the single warp method. In the first instance each warp thread is cut from the spool separately, with at least 20cm, or 8 inches, extra length added at each end. The warp threads are tied together with an overhand knot and then fitted onto the loom. Using the single warp method you work directly from the spool, knotting the end of the thread to the loom and then running the thread back and forth to create the warp. With both methods you will need one more warp thread than the number of beads in the width of your pattern as the warp threads sit between the beads. The two outside warp threads can be doubled up to give extra strength to your piece. When you have finished weaving the piece and have removed it from the loom you will need to sew each warp end into the piece for a neat finish. There is another way of working with a single or continuous warp thread, that produces a piece with only two tail ends to finish off. For more instruction on this method look at this extract from The Beader’s Bible by Dorothy Wood.
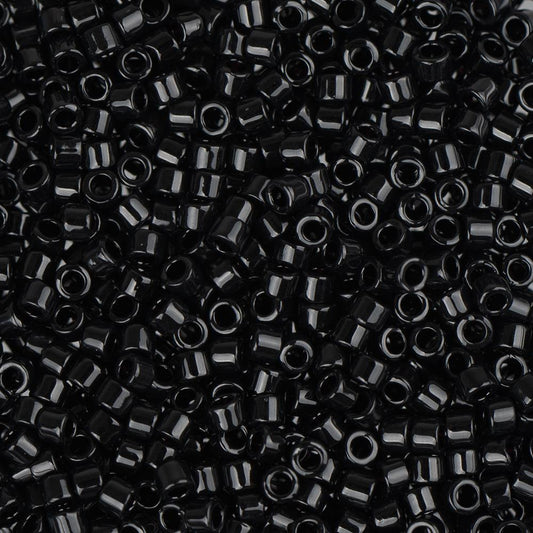
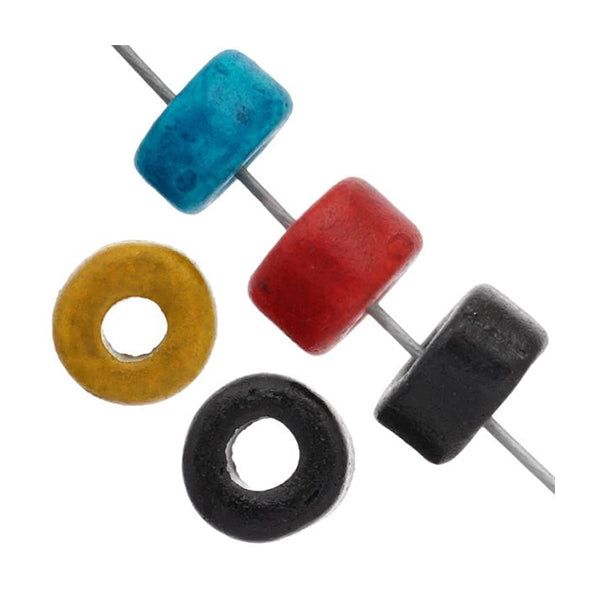
Standard seed beads, cylindrical seed beads and small crystals are most commonly used for loom work. Many weavers prefer the regular shape of Japanese cylindrical seed beads, such as Delicas, as they sit neatly side by side and produce a very smooth surface finish. Seed beads give a more textural and irregular result, and small crystals or other beads can be used to add extra interest and shape.
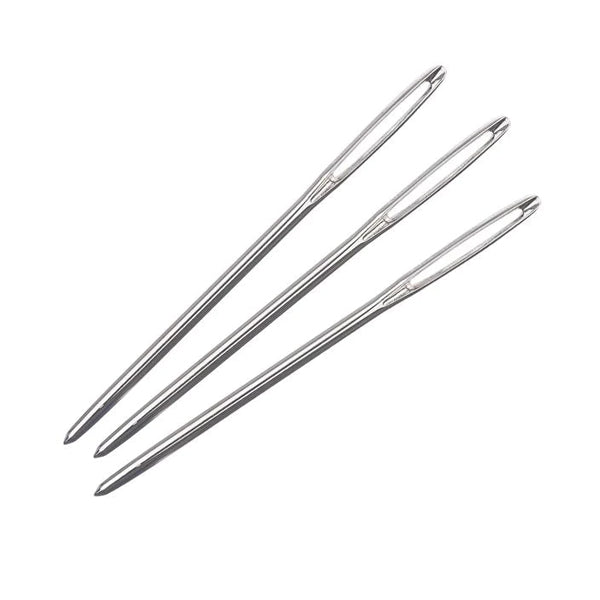
The type of beading needle you choose is dependent on your own preference, but it is possible to buy especially long needles designed for use on wider looms.
To start weaving you need to cut yourself a comfortable length of thread, and tie this to the outside warp thread with an overhand knot. Using a beading needle thread the beads required for the first row, then bring the thread with the beads up under the warp threads and position so there is a warp thread between each bead. Support the beads with a finger, and push them up slightly so that you are able to then push the weft thread back through the beads, with the thread passing over the top of the warp thread. This is when you need to be careful not to pierce the warp. Once the weft thread has exited the final bead, passed over the top of the final warp thread, you can pick up the beads for the second row and repeat the weaving action. If you worked left to right for the first row, then work right to left for the second row, or vice versa.
Once the piece has been completed and tail ends tidied up you can add beaded decorative edges, including picot, loops and fringes by weaving freehand.


Also known as needle weaving, this technique is worked with a flexible thread, seed beads or other small beads. It is the path that the thread takes through the beads that determines the lie of the beads and the form that they create. The results of off-loom weaving are generally more three-dimensional and textural than the flat weaves produced on the loom.
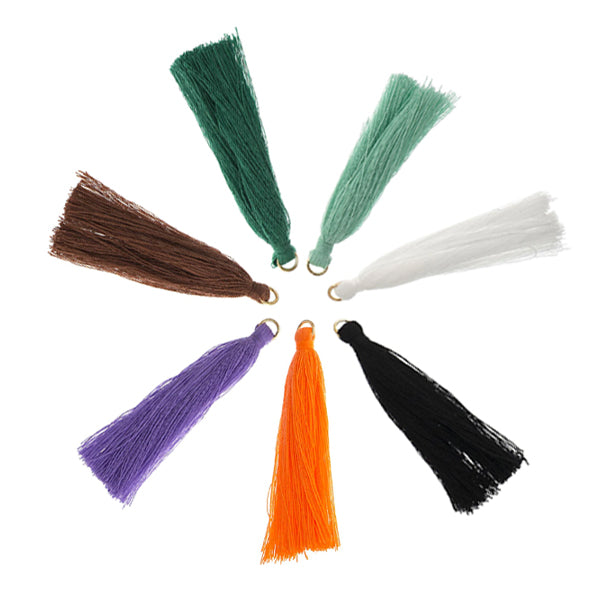
If stringing is learning to walk with beads, or even move at a nifty pace, then bead weaving can be the equivalent of entering a marathon event or learning to emulate the movement of a prima ballerina as she pirouettes, jumps and twirls around the stage. Off-loom bead weaving can be very complex and labour intensive, as much as a challenge to complete as a joy to view the finished piece, but it can be also satisfyingly straightforward and deliver immediate results. It is the huge range of bead weaving stitches and the infinite scope for applying these stitches, such as making jewellery, buttons, vases, bowls, purses, pictures, netting, tassels, fringing to cushions or garments, and needle cases, that makes off-loom weaving such a popular technique. Don’t be put off by the need to follow a pattern, it is no harder than learning to knit, and a lot quicker to complete most projects. Once you are au fait with the basic stitches you can start to make your own variations. The basic stitches are peyote, square stitch, brick stitch, netting stitch, right-angle weave, herringbone weave and chevron stitch. Well illustrated books that cover these key stitches, include The Encyclopedia of Beading Techniques by Sara Withers & Stephanie Burnham published by Search Press, or The Beader’s Bible by Dorothy Wood published by David & Charles. The Art & Elegance of Beadweaving, by Carol Wilcox Wells published by Search Press has instruction, tips and plenty of inspiration including a whole chapter of patterns for beaded beads.

Needle choice is really down to personal preference and whether you prefer to work with a hard or flexible needle, a small or large eye, a twisted wire or straight. You will need to take into account the size of the bead hole that it needs to go through, and the number of passes that the thread needs to take through the beads, so that you choose a needle of the correct diameter. All needles will bend over time, but this can be an asset when trying to thread through awkward to reach beads.
Nymo is a great thread to work with. It does stretch a little, so it is a good idea to pull taut the length that you are about to use in order to eliminate kinks and prevent any stretching. Size D is a good general purpose size thread, but there are finer options available. Double up the thread if using with heavier beads, as it is primarily for use with seed beads, although in quantity these can weigh a surprising amount. Fireline and PowerPro also suit some projects, particularly where the resulting piece is quite weighty or if you need an ‘invisible’ thread but don’t want to use monofilament.
Some beaders like to use a thread conditioner (such as Thread Heaven or beeswax) to ease and protect the thread and help prevent knots. However, it is a personal choice, so see what works for you – Nymo is lightly pre-waxed but you can add a slick of beeswax. A coating on the thread will protect the thread from the sharp edges on bugle beads, will hopefully assist the smooth running of the thread when approaching the end of the spool and all the kinks come out to play.
Plan ahead and attach a new thread whilst you still have a good tail of your existing thread to knot with. The method you use depends on the stitch. If you are weaving with square stitch, it is possible to add thread without knotting, just introduce the new thread near to the old and follow the path of a few stitches, repeating a couple to anchor, then you can carry on. Do the same in reverse with the old thread. For tight weaves such as peyote, brick and herringbone stitches, you can attach the new thread to the old using a surgeon’s knot and carry on weaving. Later you will need to weave in the tail ends and trim.
Alternatively, introduce the new thread a few rows of beads away from where the current thread exits the piece. Insert the needle and push through a couple of beads, then tie a half-hitch or overhand knot, repeat until you can exit through the same hole that your current – now, old – thread exits through. Weave the old thread back into the piece, repeating the pattern of travelling through a couple of beads and then knotting. After your final knot pass through a further couple of beads before trimming the thread end. In this way you are not trimming immediately adjacent to the knot and risking it coming undone. If in doubt – knot! If really concerned you can dab a little glue on the knot, so long as your applicator is neat and controls the flow of glue well.
Sign up today to stay in the loop about the hottest deals, coolest new products, and exclusive sales.
Thanks for subscribing!
This email has been registered!
Last updated: September 11, 2025
Summary of i-Bead Inc.'s Terms of Service:
Product Descriptions: i-Bead Inc. strives for accurate product information, but errors may occur. Product availability and specifications, like size, are subject to change.
Product Images: Images are for representation purposes; actual products may vary in appearance due to display settings or manufacturing differences.
Copyright & Intellectual Property: All content on the Website is owned by i-Bead Inc. or its licensors. Users are granted a limited, non-commercial license to view and print content for personal use but cannot reproduce or distribute it without permission.
Trademarks: The i-Bead name and logo are trademarks of i-Bead Inc. Unauthorized use of trademarks is prohibited.
Use of the Website: Users must comply with laws and the Terms. Account creation may be required for certain services. Users are responsible for account security and cannot engage in harmful behavior or unauthorized access.
Pricing & Availability: Prices are listed in Canadian Dollars (CAD) and are subject to change. Additional charges for taxes, shipping, and duties may apply. Out-of-stock products may be removed or delayed.
Limitation of Liability: i-Bead Inc. is not liable for any indirect damages, and the website is provided "as is" without warranties.
Privacy & Data Protection: The use of personal data is governed by the company’s Privacy Policy, which users should review.
Indemnification: Users agree to defend and hold i-Bead Inc. harmless from any legal issues arising from their use of the site or violation of the Terms.
Modifications: i-Bead Inc. can update these Terms at any time. Changes will be effective upon posting.
Governing Law: The Terms are governed by the laws of Ontario, Canada, and any disputes will be resolved in Ontario courts.
Contact Information: For questions, users can contact i-Bead Inc. at their address or via email or phone.
Summary of i-Bead Inc.'s Refund Policy:
In-Store Purchases: Items can be returned within 30 days with the original receipt for an exchange, store credit, or refund. Must be unopened and in original condition.
Online Purchases: Returns allowed within 30 days of receiving your order. Prior authorization required. Items must be unopened and in original condition.
Non-Returnable Items: Sale items, opened packages, broken strands, cut items (e.g., fabric, ribbon, rhinestone banding, etc), books, and special orders cannot be returned.
Restocking Fee: Returns after 30 days incur a 20% restocking fee. Clearance/discontinued items cannot be returned after 30 days.
Damaged/Defective Items: Contact customer service within 48 hours. Return shipping will be covered, and you can request a refund or replacement.
Return Instructions: Include the reason for the return, order details, and use a traceable shipping carrier. Returns must be prepaid, and customs fees are not covered.
Refund Process: Refunds will be issued after inspection, minus shipping costs, and may take 1-2 weeks to process.
For returns, the items must be in their original, unopened condition.
Summary of i-Bead Inc.'s Shipping Policy:
Shipping Methods: i-Bead uses Purolator, UPS, Canpar, and FedEx for Ground and Express shipping.
Shipping Times: Orders placed by 12:00 PM EST ship the same day; orders placed after that time ship the next business day. V.I.Bead Members get same-day shipping regardless of order volume.
Shipping Locations: We ship within Canada and to select international destinations (excluding the United States). P.O. Boxes are not eligible.
Shipping Discounts:
Tracking & Insurance: All orders include tracking. Insurance is included for orders under $100; additional coverage is available for $3 per $100.
Damage or Loss: Contact customer service within 48 hours if your order is damaged or lost during transit. Claims will be processed with the courier.
Theft: i-Bead is not responsible for theft once a package is marked as delivered. Signature confirmation is available for added security.
Delays: Delivery may be delayed due to factors like weather, rural locations, or peak seasons.
Summary of i-Bead Inc.'s Sales Tax Policy:
Canadian Residents: Sales tax is applied based on the province:
First Nations: Eligible customers may receive tax relief with the Indian Status Tax Exemption Card.
U.S. & International Orders: U.S.: Not applicable—shipping is paused. International (non-U.S.): No Canadian sales tax or VAT is charged by i-Bead; destination duties/taxes may apply.
In short, Canadian customers are taxed based on their province; U.S. orders are not available; international customers may incur destination duties/taxes.
Summary of i-Bead Inc.'s Native Status Card Policy:
Tax Exemption Eligibility: Status Card holders can qualify for GST/HST relief if:
Ontario Residents: Eligible for an 8% HST rebate on orders shipped within Ontario.
How to Apply:
Important: Misrepresentation of eligibility can result in penalties from the CRA.
In short, eligible Status Card holders can receive tax relief by following the proper procedure and submitting required documentation.
Summary of i-Bead Inc.'s Privacy Policy:
i-Bead Inc.'s Privacy Policy outlines how they collect, use, and disclose personal information. They gather data directly from users (e.g., contact details, order info, payment info) and through tracking technologies (e.g., cookies). This data is used for order processing, marketing, security, and customer support. The company may share data with third-party vendors and partners for service fulfillment, marketing, and legal compliance. Users can access, correct, or delete their data, and opt-out of marketing communications. The policy also covers data security, retention, and international transfers.
By completing the checkout process, you (the customer) acknowledge that you have read, understood, and agreed to the Terms and Conditions outlined by i-Bead Inc. Furthermore, you agree that i-Bead Inc. shall not be held liable for any delays in shipping caused by factors beyond its control, including, but not limited to, disruptions due to COVID-19, adverse weather conditions, holiday seasons, natural disasters (Acts of God), strikes, or lock-outs or any other unforeseeable events. In addition, in the event that a parcel is damaged or lost during transit, and you have not obtained additional insurance coverage, you expressly agree that i-Bead Inc. shall not be held responsible or accountable for any resultant loss, damage, or delay.
Wahnapitae, ON P0M 3C0
Phone: 705-694-0065
Fax: 705-694-1594
Toll Free: 1-877-224-2323
Email: info@ibeadcanada.com
Mon-Sat: 10am - 6pm
Sun: 11am-5pm
Mon-Sat: 10am - 6pm
Sun: 11am-5pm