This cotton fabric features a breathtaking Northern Lights panel, with ribbons of green, blue, and violet drifting over snow-capped peaks and forest silhouettes, capturing a night sky that feels both magical and serene; the panel layout is perfect for wall hangings, quilt centers, and...
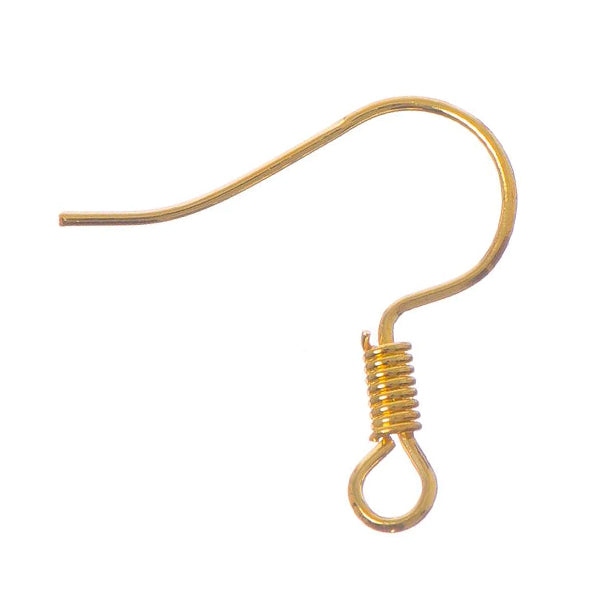
Add a high-quality, professional finish to your handmade earrings with these 925 sterling silver ear hooks. Crafted from genuine sterling silver, they offer excellent durability, skin-friendly comfort, and a bright, polished shine that complements any design. Each hook features a smooth round bead and...
Add a high-quality, professional finish to your handmade earrings with these 925 sterling silver ear hooks. Crafted from genuine sterling silver, they offer excellent durability, skin-friendly comfort, and a bright, polished shine that complements any design. Each hook features a smooth round bead and...
Crystal Lane Beads Style: Rondelle Size: 6mm x 8mm Colour: Transparent Yellow Qty/Pkg: 2 x 7" Strands (approx 58 pieces) Description: These Crystal Lane brand beads are sparkling faceted donut shaped rondelle beads. Available in a broad spectrum of colours and sizes. Glass bead...
Crystal Lane Beads Style: Rondelle Size: 6mm x 8mm Colour: Opaque Black Qty/Pkg: 2 x 7" Strands (approx 58 pieces) Description: These Crystal Lane brand beads are sparkling faceted donut shaped rondelle beads. Available in a broad spectrum of colours and sizes. Glass bead...
Crystal Lane Beads Style: Bicone Size: 4mm Colour: Transparent Green AB Qty/Pkg: 2 x 7" Strands (approx 96 pieces) Description: These Crystal Lane brand beads are sparkling faceted bicone shaped beads. Available in a broad spectrum of colours and sizes. Glass bead double strands...
Finish by knotting as directed for the cord. Its flat construction should not be treated as identical to a round cord of the same stated size.
Clear elastic cord
Our other clear elastic options provide several diameters and spool lengths. Check the exact product rather than transferring another brand’s instructions.
Check the package for preparation, knotting and adhesive compatibility before starting.
Find the comfortable fit
Room to move matters.
Choose a suitable cord that passes freely through every bead. If you plan a doubled strand, test both strands together. Forcing extra cord through a tight hole can create pinch points.
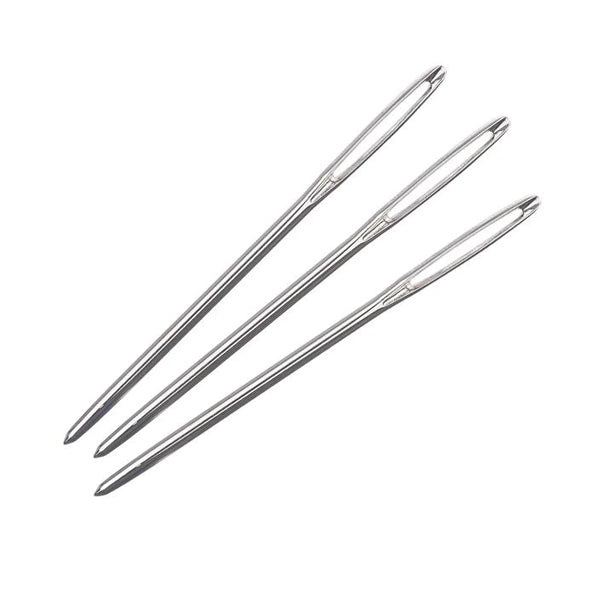
A needle adds thickness at the threaded eye. String directly when practical; if a needle is needed, test the complete needle-and-cord combination.
Check the beads too
One rough edge can spoil a bracelet.
Inspect holes and metal spacers for chips, burrs or snagging. Set a problem bead aside. A heavier design or a troublesome hole may call for a different construction rather than more tension on thin elastic.
A wrist measurement is a starting point. Larger beads take up space inside the bracelet, so a flat strand matching the wrist measurement can fit too tightly.
Fit before finishing
Try the real loop.
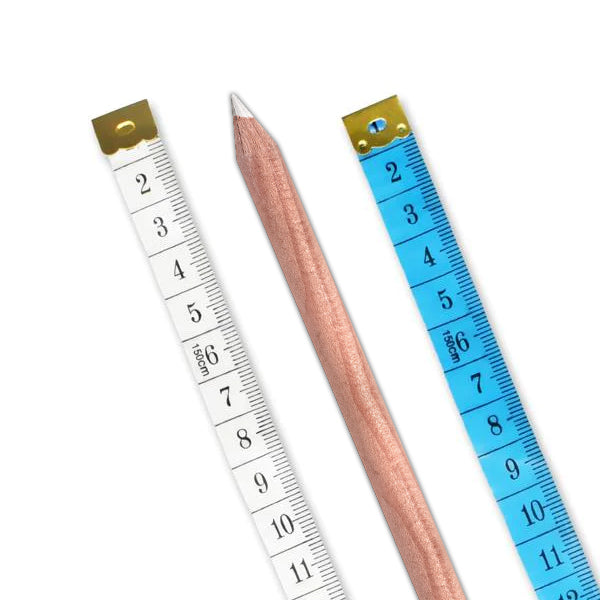
Measure the wrist where the bracelet will sit.
Lay out the design, then string enough beads for a trial loop.
Hold the ends securely together over a tray and check the fit, ideally with a helper. Keep the elastic relaxed.
Add or remove beads until it sits comfortably, then check that it can pass over the hand without excessive stretching.
For a gift, use a well-fitting bracelet with similar bead sizes as a reference when possible. Avoid relying on a universal “average” wrist size.
Keep the measurements separate
Beaded length is not cutting length.
Once the trial fit is right, measure the bead line laid straight with the cord relaxed. Then allow extra cord for your hands and knot.
The helper below adds that working allowance. It does not calculate bracelet fit from a wrist measurement, and it assumes one strand of cord.
Workbench helper
How much cord should I cut?
Enter your planned beaded length and the extra cord you want for tying. The default 15 cm allowance is a generous working starting point; adjust it for your technique.
Single-strand starting length. Keep the tails long until the knot is secure and any approved adhesive has cured.
03
Build it in six calm steps.
Use this checklist as you work. Ticks stay on this page only; they do not save when you leave.
0 of 6 making steps checked.
A small helper: Dazzle-It Bead Stoppers temporarily hold a strand while you work. Release the stopper before pulling the cord through it.
04
Give the knot your full attention.
For Stretch Magic, Pepperell lists a surgeon’s knot or Carrick bend. This walkthrough describes the common double-first-throw surgeon’s knot; use the directions for your exact cord.
01
Make the first crossing.
Cross the left end over the right. Pass it through the opening twice instead of once, then draw the crossing down evenly.
02
Reverse the direction.
Cross the right end over the left and pass it through once. Reversing direction is essential; repeating the same direction makes a different knot.
03
Seat and check it.
Bring the knot together with controlled, even tension. Check for slipping over a tray before trimming. Keep the bracelet relaxed rather than locking the beads onto stretched cord.
Keep the closure intact
Leave the tails until the end.
If the knot slips, stop and retie it with sufficient working length. Do not cut flush against an untested knot. Conceal the finished knot only in a hole that accepts it without force.
For a visual demonstration of this type of knot, see the elastic-cord tutorial in the sources below. Its adhesive advice is specific to its demonstrated materials.
Adhesive is a separate decision
Check the exact combination.
Use adhesive only when its compatibility with your cord and nearby bead is confirmed. Apply the directed amount and allow the specified full cure before testing or wearing.
Use the recommended knot for these stretch cords. An ordinary metal crimp is not a general replacement for it. Do not crush elastic inside a crimp or close a metal cover tightly enough to pinch the cord.
05
Find the cause before starting again.
Choose the problem that best matches your bracelet.
Showing all 5 problems.
It feels loose
Check preparation and sizing.
Did the bracelet start out loose, or did it change later? Recheck the relaxed fit and whether the cord was prepared as directed. Replace cord that has lost recovery; removing a bead will not restore worn elastic.
The knot opens
Check the knot before the glue.
Review the crossing directions and seating of the knot. If it keeps slipping, practise with spare cord and follow the package instructions before remaking the bracelet. A coating over a loose knot does not correct it.
It breaks near a bead
Look closely at the contact point.
Inspect that bead hole and nearby spacer for a chip, burr or tight passage. Set a suspect component aside. Replace the damaged cord throughout the bracelet instead of joining a short repair into it.
The knot will not hide
Give the knot enough room.
Use a suitable larger-hole finishing bead or revise the design. Do not yank a thick knot into a narrow hole, scrape the cord with a tool or cut the tails flush simply to make it disappear.
It is hard to put on
Check the whole route over the hand.
The bracelet needs a comfortable resting fit and enough movement to pass over the hand. Recheck the bead count and design. If it requires force, consider a clasped construction rather than repeatedly over-stretching it.
06
Small habits help it last.
The cord is a working part of the bracelet. Inspect it regularly and restring when it shows wear.
Putting it on
Guide it gently over your hand.
Roll the bracelet over your hand instead of pulling one side into a long loop. Avoid catching it on clothing or stretching it for play. If it feels difficult to remove, reassess the fit.
Between wears
Keep care gentle.
Remove the bracelet for swimming, showering, cleaning and activities where it could snag. Keep perfume, solvents and household cleaners away, and follow the care limits of the beads and finishes.
When should I restring it?
Restring when you notice fraying, surface damage, a slipping knot, exposed gaps that were not there originally or poor recovery after gentle stretching. There is no single replacement schedule for every cord, design and wearer.
Will doubling the cord make it last longer?
More strands also take up more room. Use multiple strands only when the design and knotting method allow it and the whole bundle passes freely. A crowded hole can pinch the cord; doubling is not a universal cure for breakage.
Can I use any elastic from the sewing box?
Choose a product intended for the kind of jewellery you are making. Sewing elastic and decorative covered elastic may behave differently from the beading cords in this guide. Check the material, dimensions and finishing directions.
What if the bracelet is for a child?
Choose age-appropriate materials and supervise making. Small beads and loose components are choking hazards. Keep them away from babies and young children; a handmade stretch bracelet should not be treated as a teething item.
What should I bring when asking for help?
Bring the cord packaging, a few of the actual beads and a photo of where the bracelet failed. Tell us whether the issue is slipping, breakage or fit. That makes it easier to check the combination instead of guessing.
Product Descriptions: i-Bead Inc. strives for accurate product information, but errors may occur. Product availability and specifications, like size, are subject to change.
Product Images: Images are for representation purposes; actual products may vary in appearance due to display settings or manufacturing differences.
Copyright & Intellectual Property: All content on the Website is owned by i-Bead Inc. or its licensors. Users are granted a limited, non-commercial license to view and print content for personal use but cannot reproduce or distribute it without permission.
Trademarks: The i-Bead name and logo are trademarks of i-Bead Inc. Unauthorized use of trademarks is prohibited.
Use of the Website: Users must comply with laws and the Terms. Account creation may be required for certain services. Users are responsible for account security and cannot engage in harmful behavior or unauthorized access.
Pricing & Availability: Prices are listed in Canadian Dollars (CAD) and are subject to change. Additional charges for taxes, shipping, and duties may apply. Out-of-stock products may be removed or delayed.
Limitation of Liability: i-Bead Inc. is not liable for any indirect damages, and the website is provided "as is" without warranties.
Privacy & Data Protection: The use of personal data is governed by the company’s Privacy Policy, which users should review.
Indemnification: Users agree to defend and hold i-Bead Inc. harmless from any legal issues arising from their use of the site or violation of the Terms.
Modifications: i-Bead Inc. can update these Terms at any time. Changes will be effective upon posting.
Governing Law: The Terms are governed by the laws of Ontario, Canada, and any disputes will be resolved in Ontario courts.
Contact Information: For questions, users can contact i-Bead Inc. at their address or via email or phone.
In-Store Purchases: Items can be returned within 30 days with the original receipt for an exchange, store credit, or refund. Must be unopened and in original condition.
Online Purchases: Returns allowed within 30 days of receiving your order. Prior authorization required. Items must be unopened and in original condition.
Non-Returnable Items: Sale items, opened packages, broken strands, cut items (e.g., fabric, ribbon, rhinestone banding, etc), books, patterns, and special orders cannot be returned.
Restocking Fee: Returns after 30 days incur a 20% restocking fee. Clearance/discontinued items cannot be returned after 30 days. Returns initiated beyond 90 days are not eligible for a return or exchange.
Damaged/Defective Items: Contact customer service within 48 hours. Return shipping will be covered, and you can request a refund or replacement.
Return Instructions: Include the reason for the return and your order details. We recommend using a traceable shipping carrier. Returns must be prepaid, and customs fees are not covered.
Refund Process: Refunds will be issued after inspection, minus shipping costs, and may take 1-2 weeks to process.
For returns, the items must be in their original, unopened condition.
Shipping Policy
Shipping rates, eligibility, discounts and exclusions are explained in our Shipping Policy. Available shipping methods and applicable charges are shown at checkout.
Stamped Envelope Shipping — Untracked and Uninsured
Important: Read these limitations before selecting this lower-cost shipping option. Stamped Envelope Shipping uses Canada Post Lettermail, not a tracked parcel service.
Eligibility: Available only for eligible small, lightweight orders delivered within Canada, with a maximum of 10 items and an order value of no more than $24.99 CAD. The complete order must meet the requirements, including Canada Post's maximum Lettermail dimensions of 380 × 270 × 20 mm and maximum weight of 500 g. Having one eligible product in your cart does not mean the entire order qualifies. This shipping method appears at checkout only when the order is eligible.
No tracking or delivery confirmation: A tracking number is not provided. Once the envelope has been mailed, we cannot track its location or independently confirm when it is delivered.
No carrier insurance: Stamped Envelope Shipping does not include coverage for loss or damage, and no insured shipping claim is available through this service. Insurance associated with parcel shipping does not apply to stamped envelopes.
Delivery times are not guaranteed: Lettermail may be slower than expedited parcel shipping. Depending on the destination and postal conditions, delivery may take several weeks.
Customer acknowledgment: By selecting Stamped Envelope Shipping at checkout, you acknowledge that you are choosing an untracked and uninsured method and accept its service limitations and associated risks of delay, loss or damage.
If you want tracking, delivery confirmation or available carrier insurance, select an eligible tracked parcel shipping option instead.
Orders delivered within Canada: Applicable GST/HST is calculated based on the delivery province or territory. Please see our Sales Tax Policy for current rates.
First Nations tax relief: Eligible customers may qualify for GST/HST relief. Please review our Native Status Cards policy for eligibility and application requirements before ordering.
U.S. orders: Shipping to U.S. addresses is temporarily suspended.
International orders (outside Canada and the U.S.): We do not charge Canadian GST/HST on goods shipped outside Canada. Destination duties and taxes may apply and are the recipient's responsibility.
i-Bead Inc.'s Privacy Policy outlines how they collect, use, and disclose personal information. They gather data directly from users (e.g., contact details, order info, payment info) and through tracking technologies (e.g., cookies). This data is used for order processing, marketing, security, and customer support. The company may share data with third-party vendors and partners for service fulfillment, marketing, and legal compliance. Users can access, correct, or delete their data, and opt-out of marketing communications. The policy also covers data security, retention, and international transfers.
Acknowledgment of Terms and Shipping Conditions
By proceeding with checkout, you acknowledge and agree to i-Bead Inc.'s Terms & Conditions and the applicable policies linked above. Delivery estimates are not guarantees; weather, holidays, postal disruptions, and other carrier-related circumstances may cause delays. Shipping services differ in whether they include tracking, delivery confirmation and insurance, so please review the method you select at checkout and our Shipping Policy.
This cotton fabric features a breathtaking Northern Lights panel, with ribbons of green, blue, and violet drifting over snow-capped peaks and forest silhouettes, capturing a night sky that feels both magical and serene; the panel layout is perfect for wall hangings, quilt centers, and...
Add a high-quality, professional finish to your handmade earrings with these 925 sterling silver ear hooks. Crafted from genuine sterling silver, they offer excellent durability, skin-friendly comfort, and a bright, polished shine that complements any design. Each hook features a smooth round bead and...
Add a high-quality, professional finish to your handmade earrings with these 925 sterling silver ear hooks. Crafted from genuine sterling silver, they offer excellent durability, skin-friendly comfort, and a bright, polished shine that complements any design. Each hook features a smooth round bead and...
Crystal Lane Beads Style: Rondelle Size: 6mm x 8mm Colour: Transparent Yellow Qty/Pkg: 2 x 7" Strands (approx 58 pieces) Description: These Crystal Lane brand beads are sparkling faceted donut shaped rondelle beads. Available in a broad spectrum of colours and sizes. Glass bead...
Crystal Lane Beads Style: Rondelle Size: 6mm x 8mm Colour: Opaque Black Qty/Pkg: 2 x 7" Strands (approx 58 pieces) Description: These Crystal Lane brand beads are sparkling faceted donut shaped rondelle beads. Available in a broad spectrum of colours and sizes. Glass bead...
Crystal Lane Beads Style: Bicone Size: 4mm Colour: Transparent Green AB Qty/Pkg: 2 x 7" Strands (approx 96 pieces) Description: These Crystal Lane brand beads are sparkling faceted bicone shaped beads. Available in a broad spectrum of colours and sizes. Glass bead double strands...